
Pieta, as an allegorical sculptural theme, examines the human experience of Empathy; the sympathetic understanding of one for another, as uniquely felt by the participant to Christ’s crucifixion. This typically centers on the Virgin Mary, but may focus on others who were swept up in Christ’s passion.
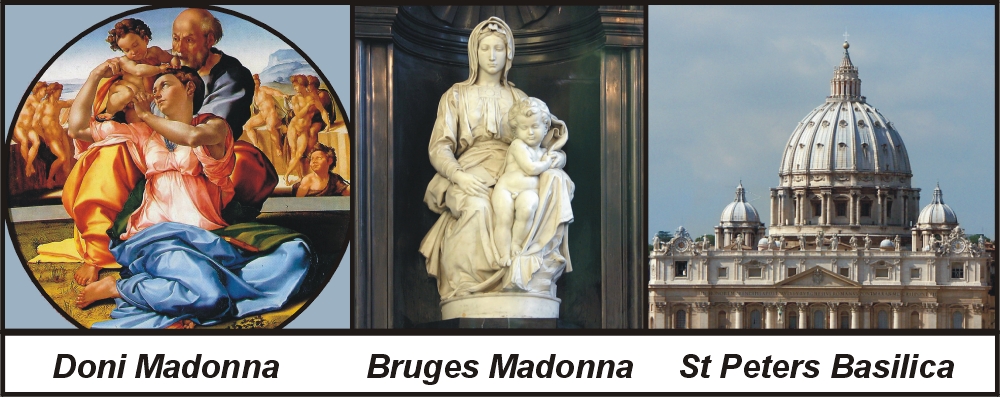
Michelangelo returned again and again to the Pieta theme with as many as four other unfinished examples. The St Peters Pieta was his most traditional portrayal. However, as Michelangelo aged, his own spirituality deepened and with his Pieta Bandini he had inserted himself within the passion narrative.
What impresses me most of his work is how he captures Life and Death with passion and tenderness. Crucifixion, the most painful and humiliating death, is viewed through a compassionate lens of Faith, Hope, Charity and Love.
Pieta Amare will be a closer look at the Allegory behind the Pieta. The purpose of Passion and Redemption… the central values found within Love.

Whenever I start a new piece, I’m always a little embarrassed on the difficulty I have applying the image of my imagination into anything remotely recognizable to anyone but me. If I close my eyes I can see it… but then, with pencil to paper, brush to canvas or hands to clay there is such a struggle. It takes a real leap of faith to push through this awkward phase. And this is why I always start my projects in complete isolation…. No witness to my failure. I honestly believe that any person out there can create art, if they could only get passed this initial hurtle. Art is created by the sheer will of personality.
Of course some are more talented then others… And Michelangelo was a true master… a Universal Artist.
A Master Painter, Master Sculptor, and Master Architect.
But as I pointed out in my post “The Importance of the Maquette” Michelangelo destroyed all that fell short of perfection. And we are only left with his best works; the legacy of the impossible standard.
Designing your Maquette
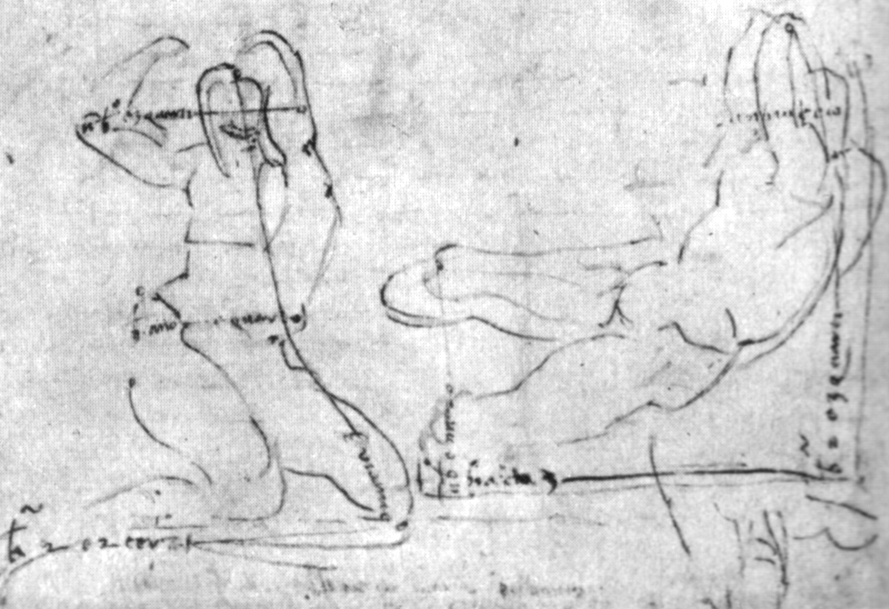
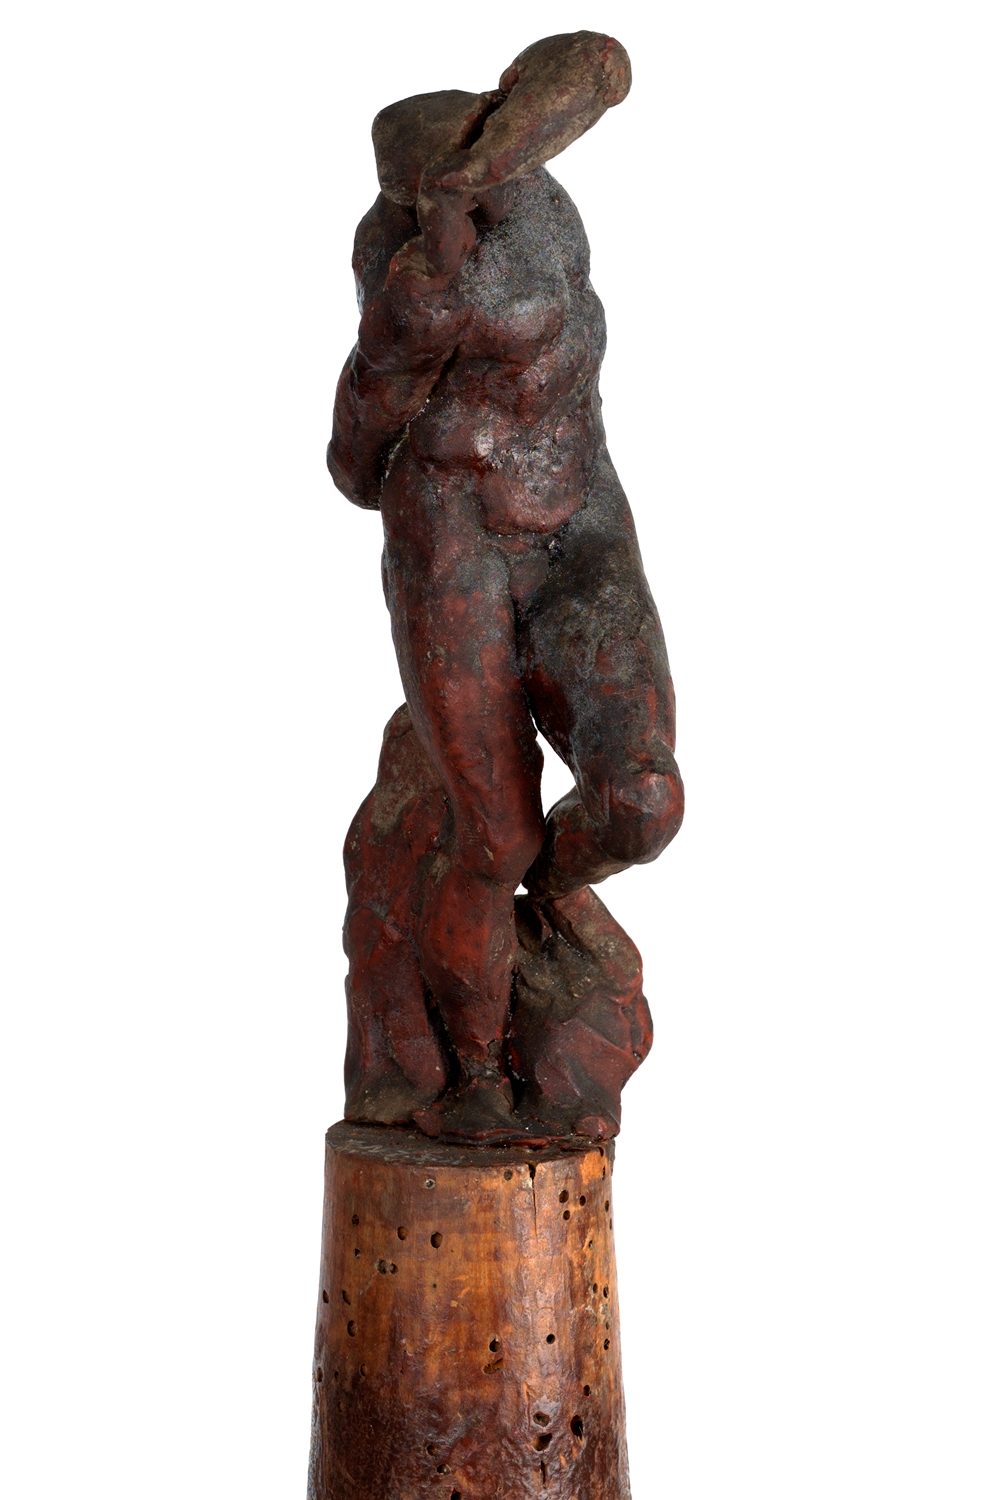
I look to his quick sketches and wax abbreviations to remind myself that not all work needs to be finished… when starting a new project, Its best to work fast without too much concern for finished quality… Do the best that you can without loosing any sleep. Push through this awkward phase. destroy it later if you like, and no one will be wiser.

From my small bozzetto I can quickly predict structural problems, proportional issues, size limitations. I can calculate casting requirements, pouring transitions, modelling sequences. More importantly, when I squint my eyes, I can see whether the model’s shape and contours carry the intended emotional movement. Does the form and flow communicate the feelings that motivated me in the first place. For my Pieta Amare, this is the Love that we share. It’s much easier to change direction at this early stage… bending the 4 inch model one way or the other until it aligns in tune with your imagination.
Using my quick model, I will be able to scale my Maquette to within a size that will fit into the kiln… limiting the overall height to 25 inches of terrasecca clay. Or no more than 28 inches of wet clay. Pieta Amare will be a complicated assembly of separate pieces and so there is an importance to accurate measurements and calculations…
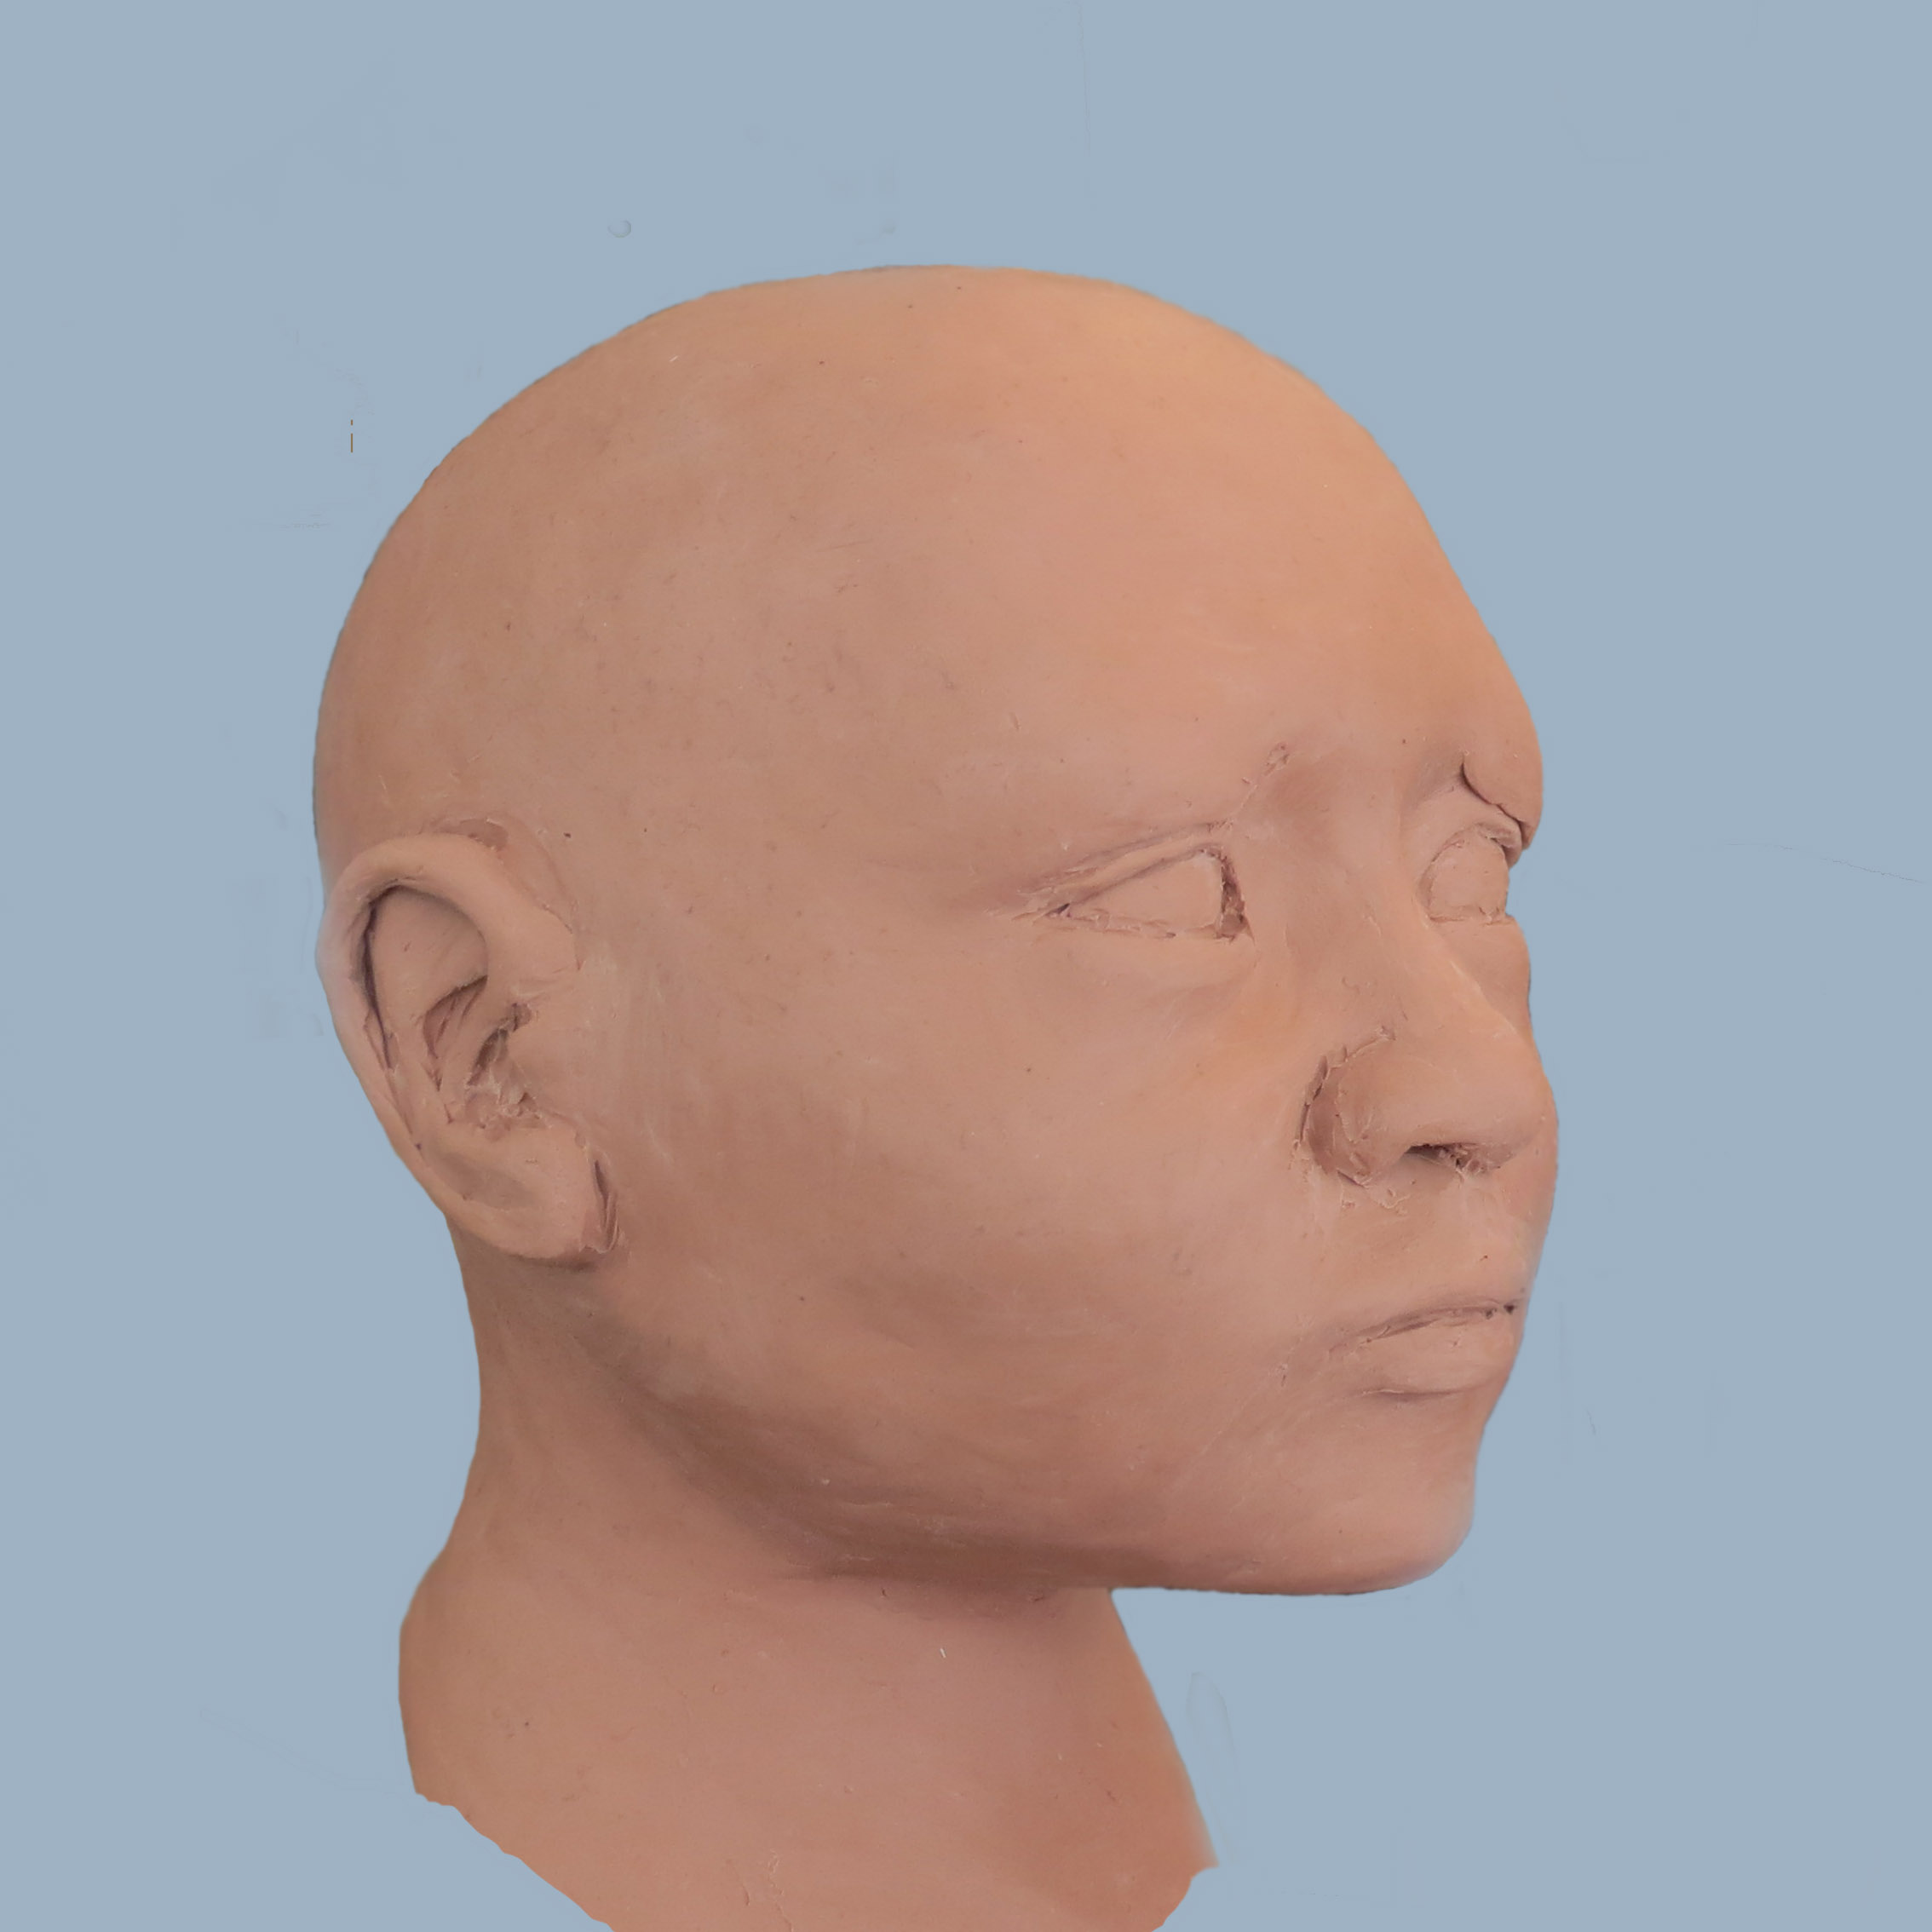
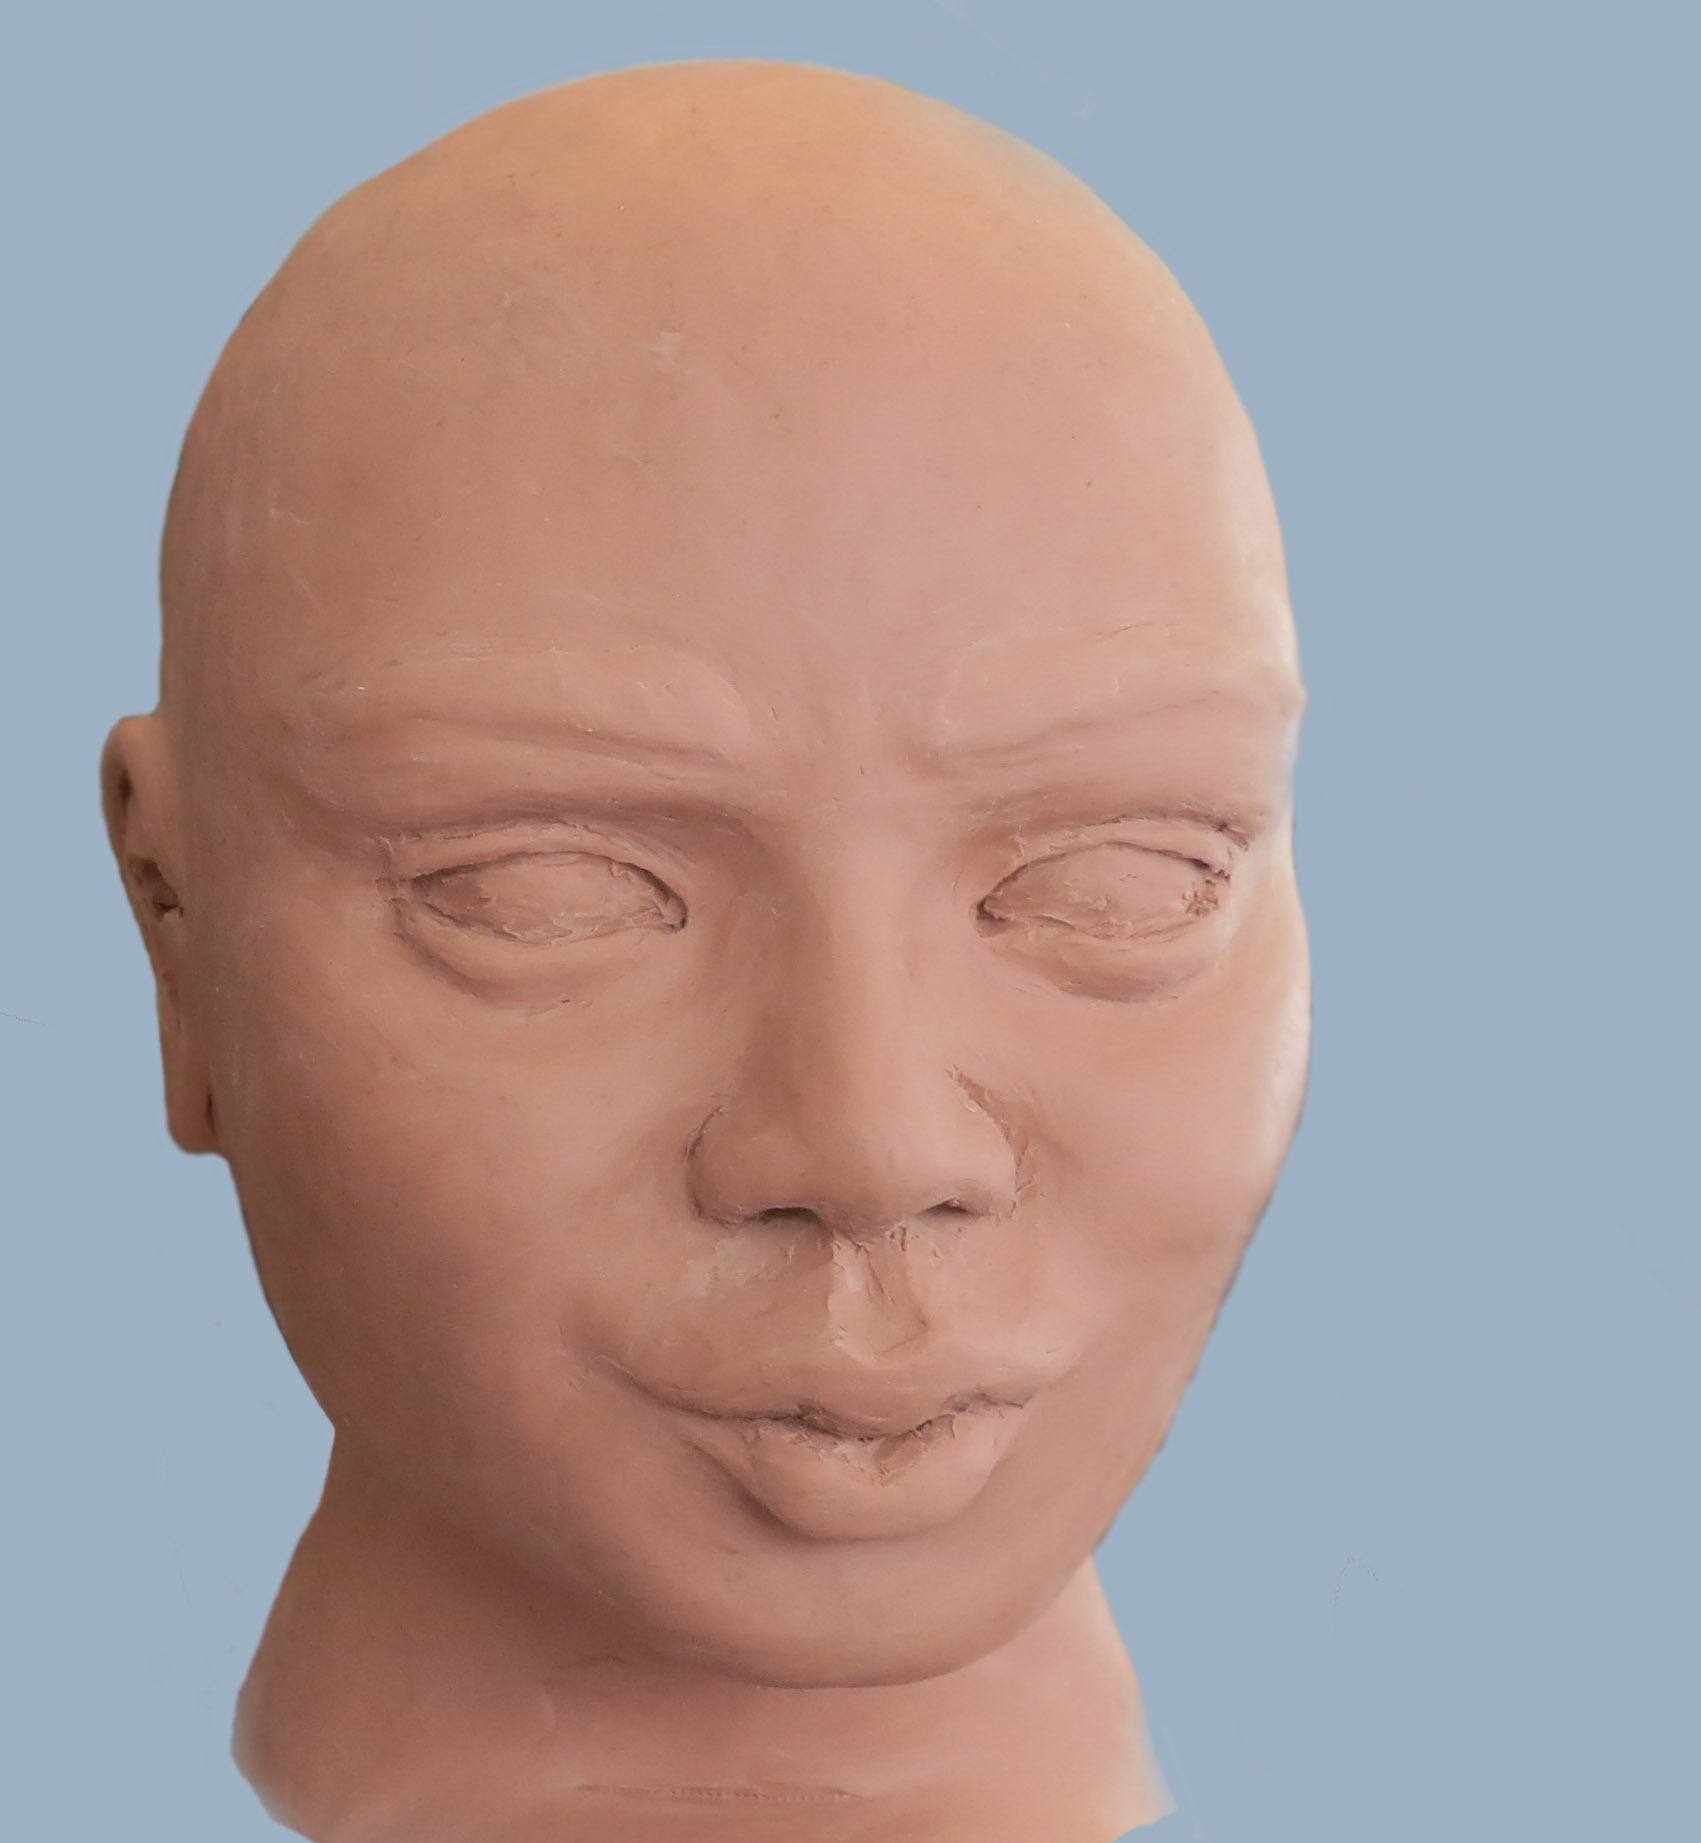
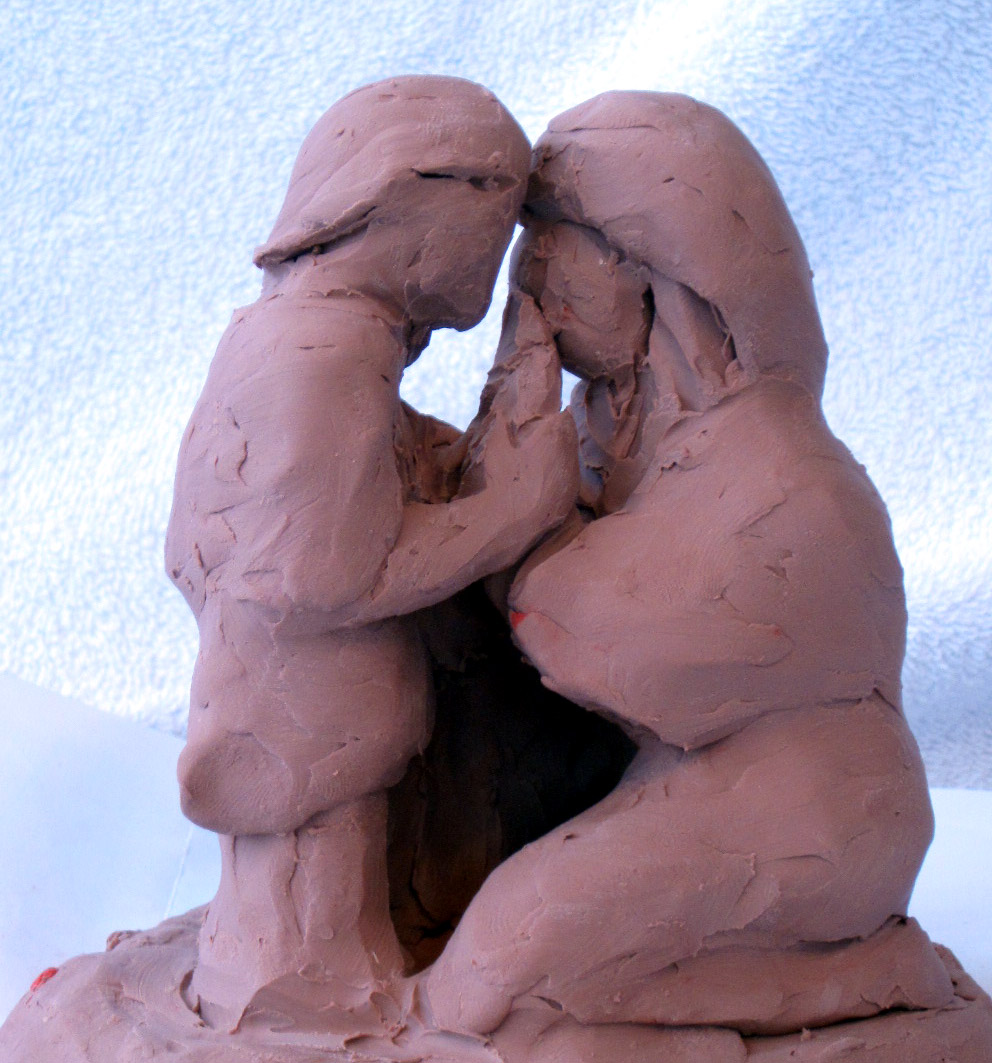
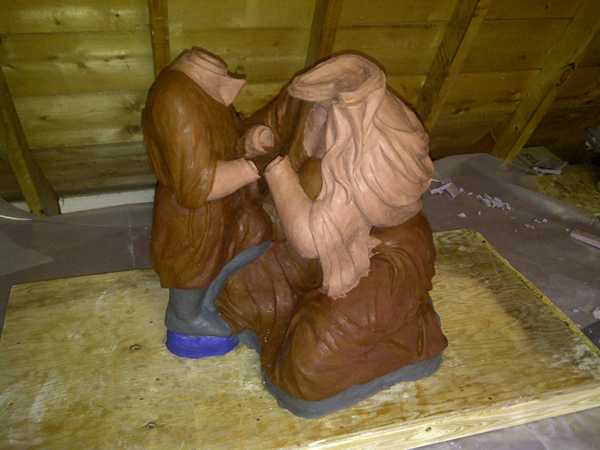
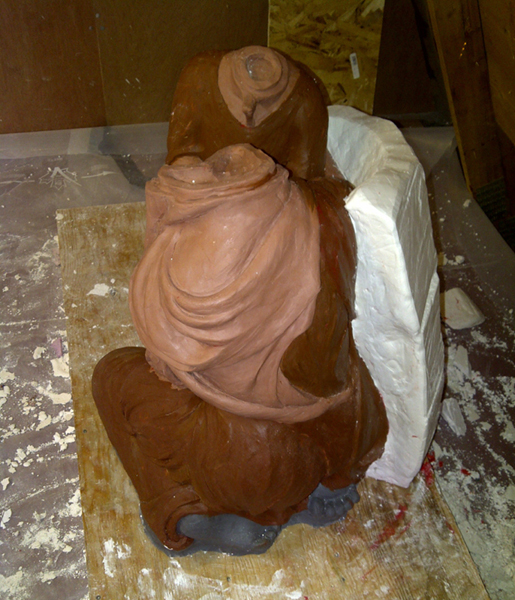
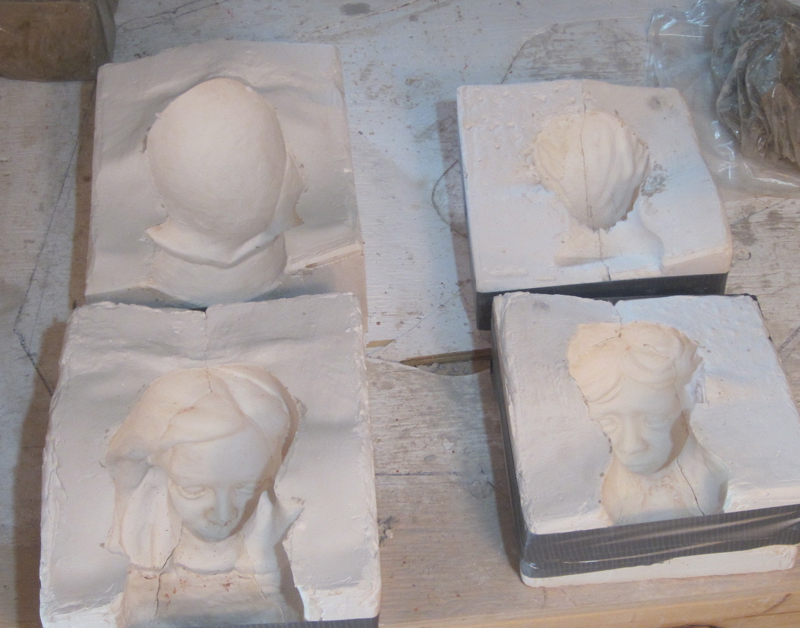
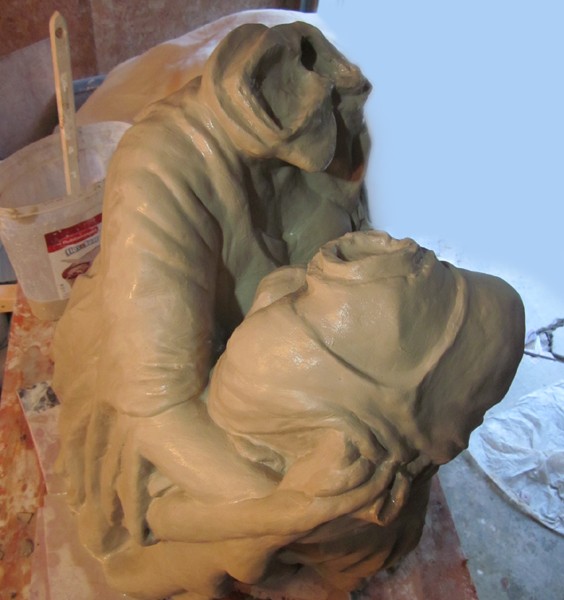
The heads and hands need to be in scale while separate from the main bodies. This will allow me to cast the plaster mould around hard to reach areas.
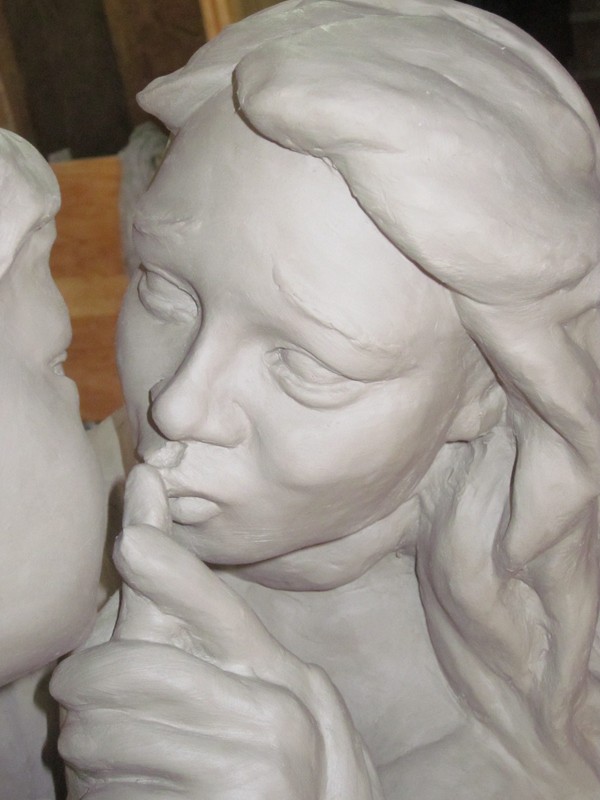
The body is then added around the hands and faces… this ensures that both Jesus and Mother Mary’s proportions will match. My original calculations from the bozzetto were close and with a slight twist and angle of the head, a little scraping and pulling.. my Pieta Amare should be the perfect size. You may remember from previous posts, that at this stage, only basic details are necessary… 90 percent is good enough. The final finesse can wait for the pressed clay stage.
Prepare your plaster mold casting
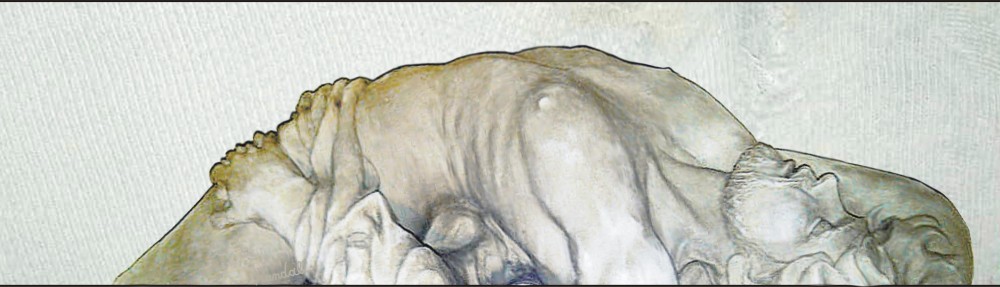
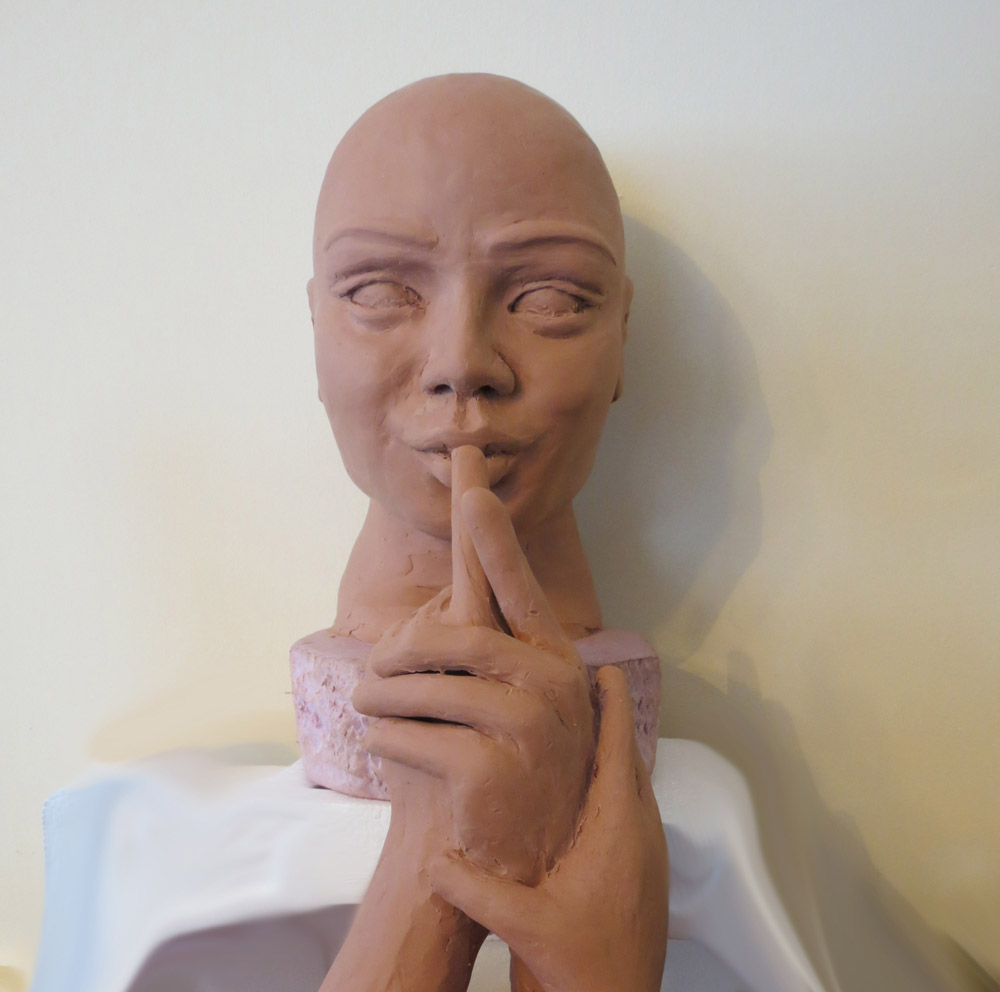
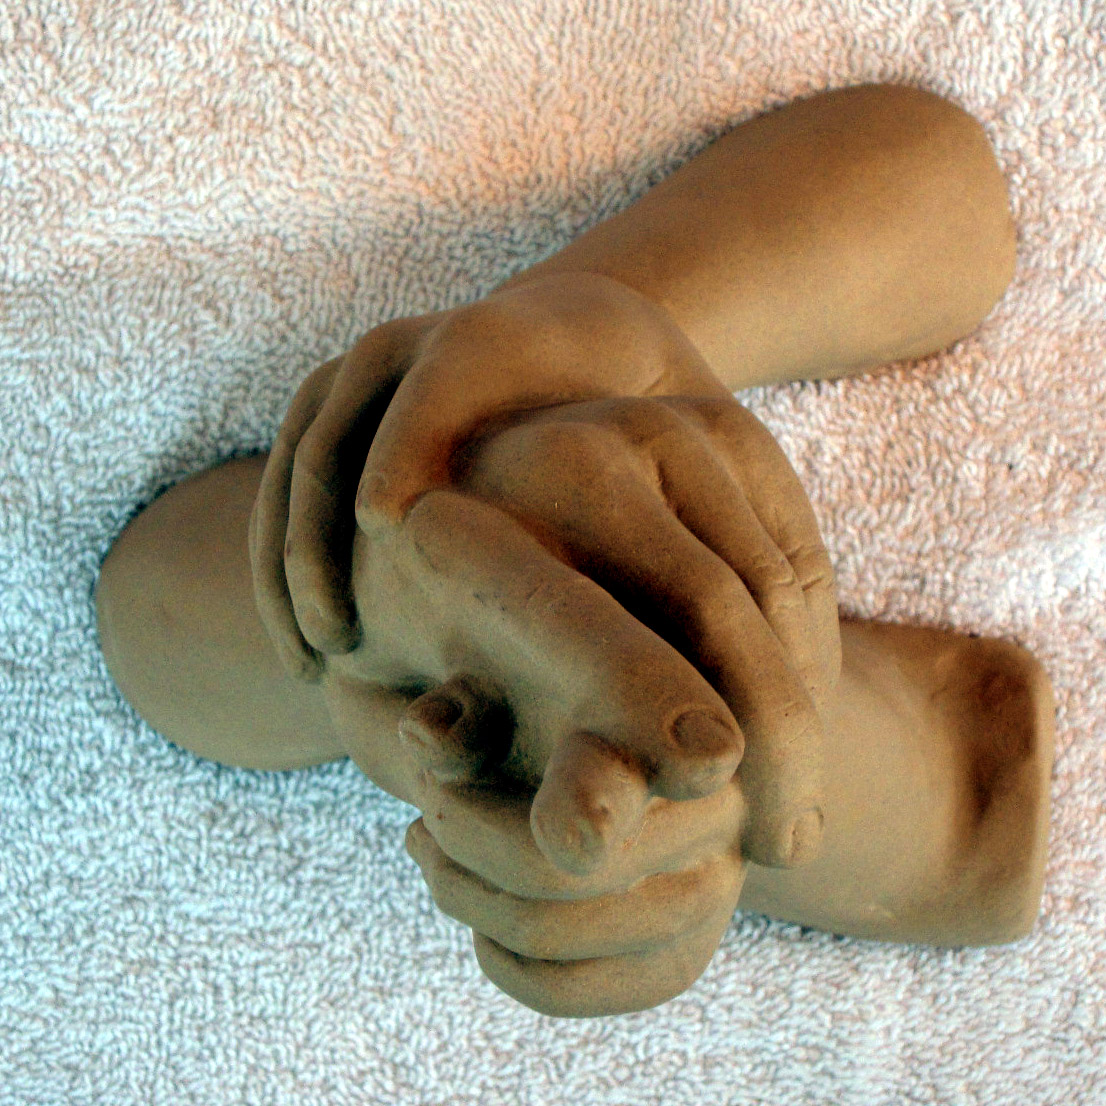
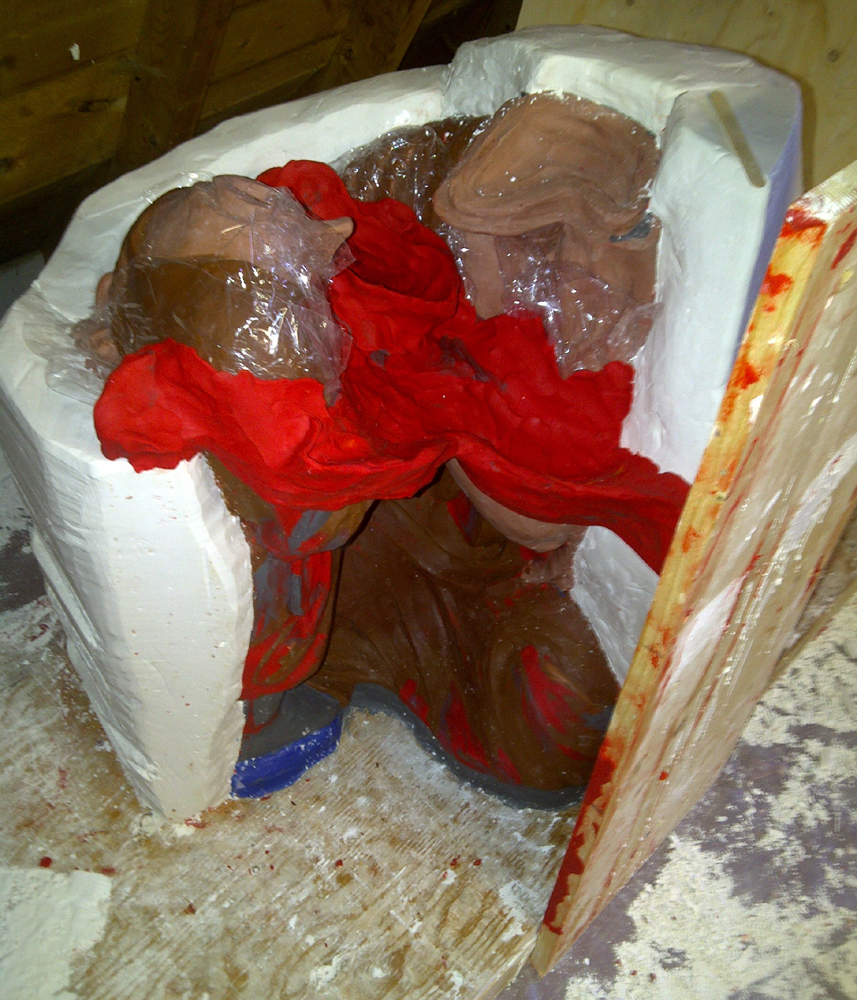
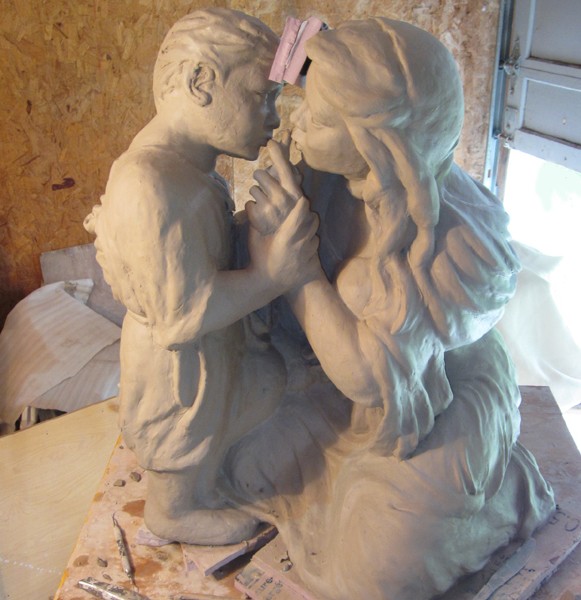
I had posted earlier that Michaelangelo loved the Pieta Allegory. And so do I. With my second Pieta Amare, the plaster process will prove very challenging as both Mother and Son are facing each other with their hands clasped together and sandwiched between them. For this project, I will need to work separately on the body, face and hands. Then reassemble the pair after the clay has been cast.


With a design as complicated as Amare, there is the temptation to skip the plaster completely and not worry about making multiple statues… Michalangelo would only create the Maquette from clay or wax without any thought to preserving his miniature masterpieces. However, he had wealthy patrons who could cover the costs of his work. Michalangelo was not your typical starving artist. For us mere mortals, we have to make a living and generate marketable art. It may come as a shock to some just how expensive art supplies can be. Between the hundred plus pounds of modeling clay, dozens plus bags of plaster, and boxes of natural clay, combined with studio space, building materials and electric kilns and tools, the final clay statue will have a hard cost of well over one thousand dollars. Its no wonder that many skip the making of clay statues and move directly to Marble. After all, The marble block will also be over a thousand, so why double your costs…. Quite an investment. But beyond the cash outlay, there is a more serious investment, and that is your time… so much time. Clay statues can be re-cast and so have a better chance of recouping your cost… in for a penny, in for a pound. And so the Plaster mold is the practical solution to production. For more details on this, jump to the beginning of my chapter on “pouring your plaster mold”

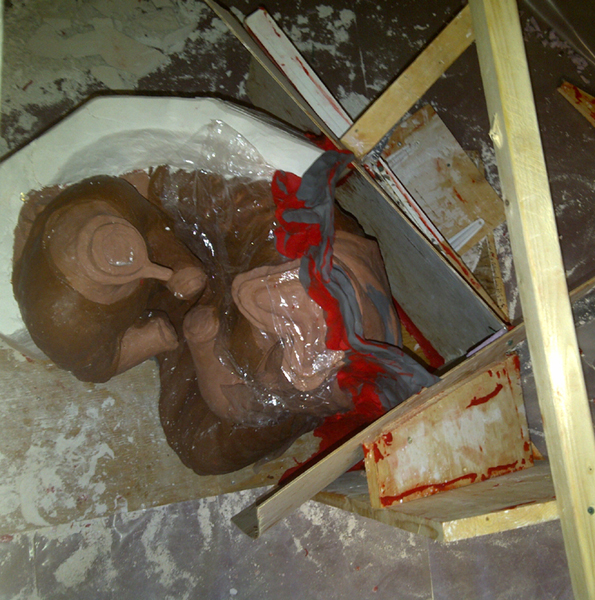
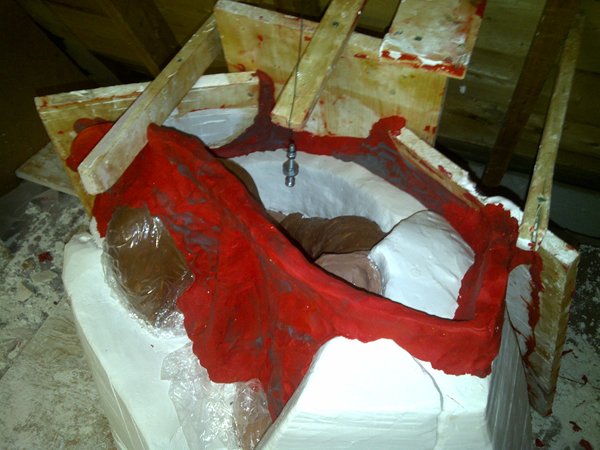
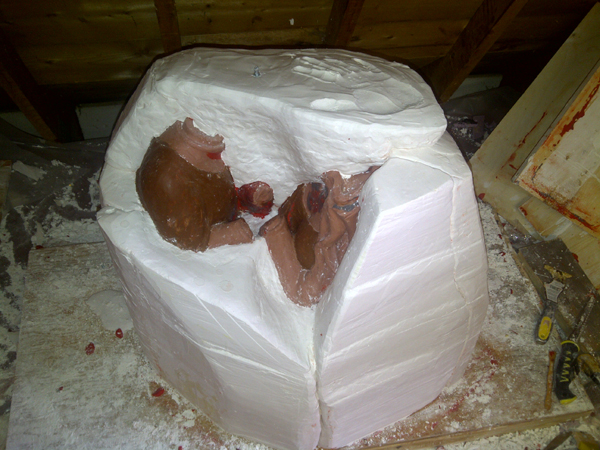
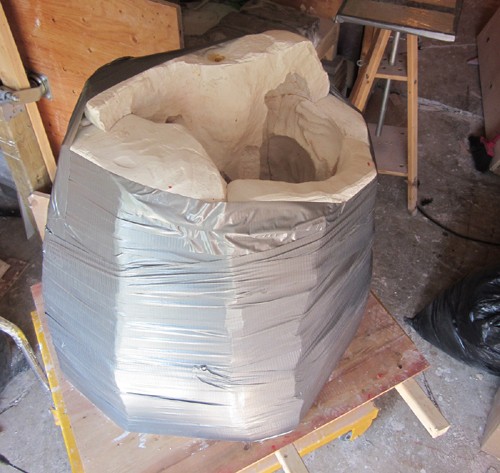
Liquid Plaster is very heavy especially when poured into a tall mold. You would be surprised how quickly the entire contents of your section will spill out under the pressure created by its own weight. All you need is a pin hole and your entire project is lying flat on the floor, a rapidly hardening pancake. When I started I had a relatively clean workspace.

But its hard not to escape at least one blow-out. Always have a cloth ready to apply pressure to the leak when it sprouts. Just like slapping a gauze on a bleeding wound, the cloth will absorb the liquid and eventually will help the hardening plaster stick and hold. However, despite your best efforts, a messy floor is inevitable.


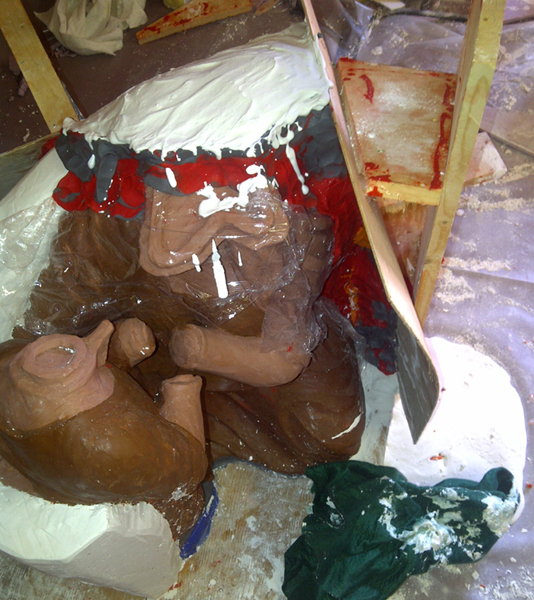
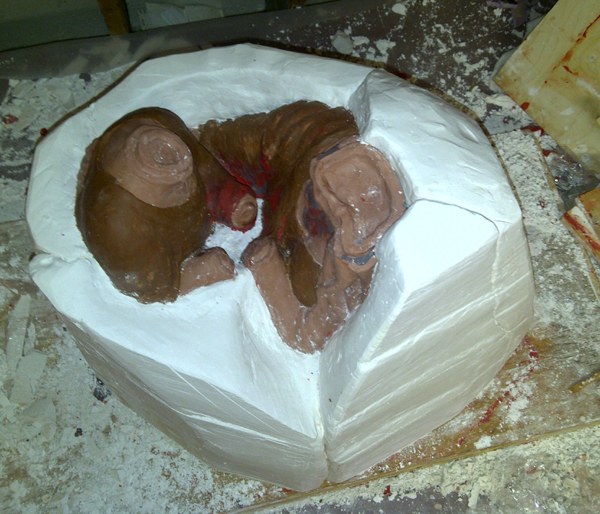
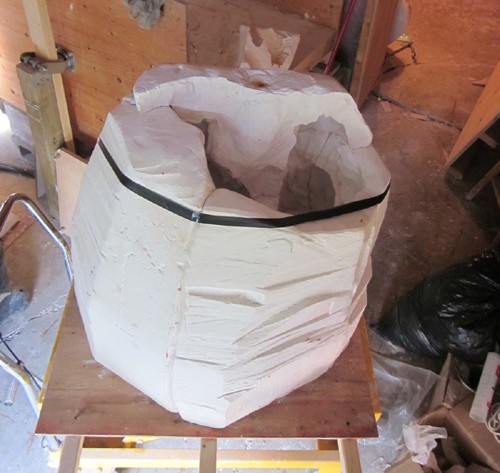
Working around the statue, each section is poured into the next with vaseline ensuring a clean separation. Plasticine is an inexpensive and very pliable medium to build up walls and seal gaps between boards. As each section has been designed to slip away from its neighbour without being locked by undercuts, each has a unique and irregular shape… plasticine really helps with modelling these sections.
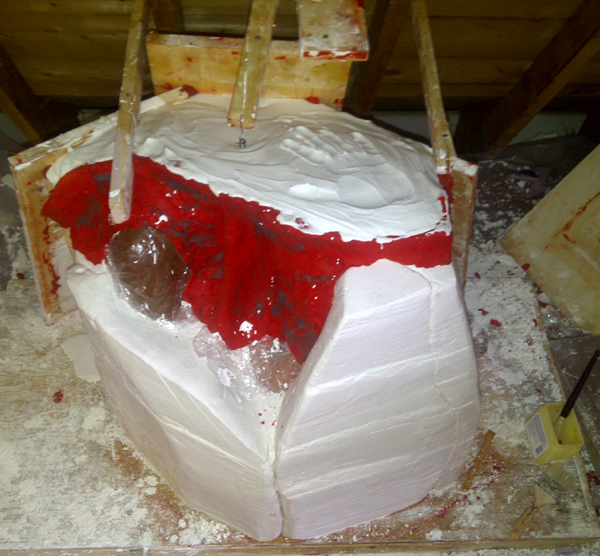
Be cautious with over relying on the plasticine wall… if it gives way , it’ll give in a big way. Unlike wood planks screwed together tightly… this kids stuff has a tendency to lift up and blow out as one piece. So build your wall like it’s the Hoover Dam.

Rely as much as possible on wood framing to hold back the flood… The planks can provide a supporting structure around the plasticin adding compression and holding back the pressure.


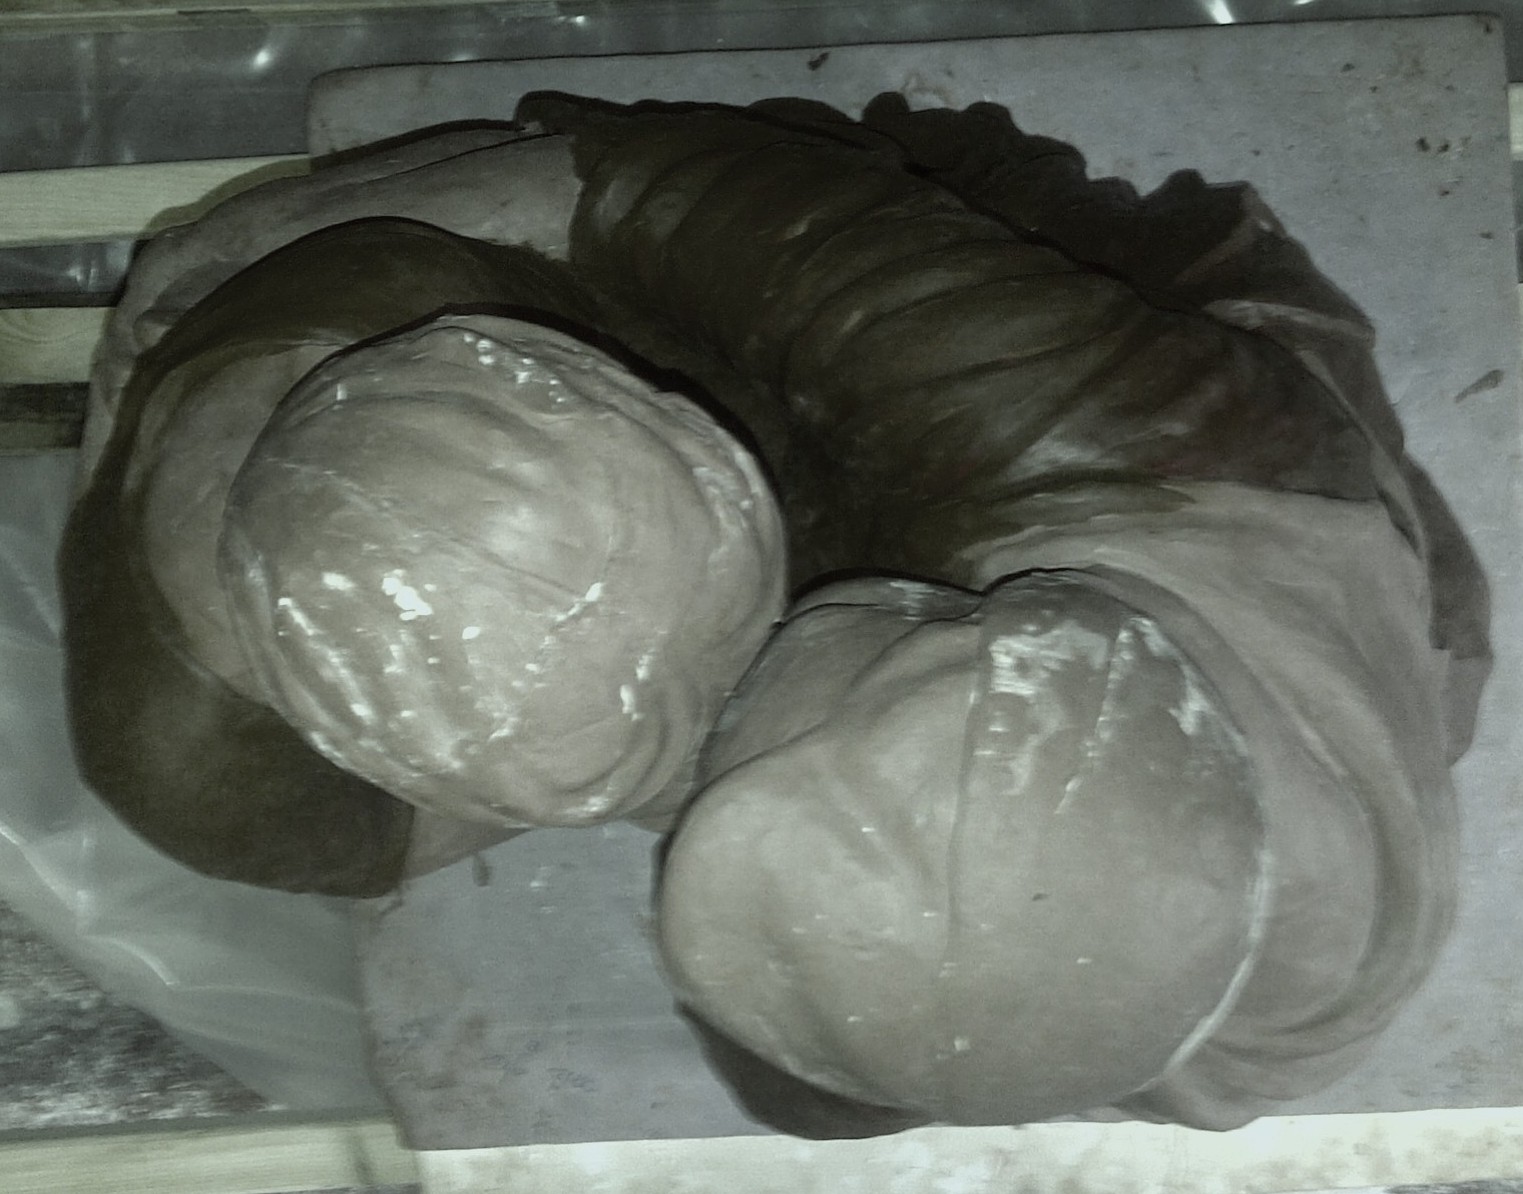
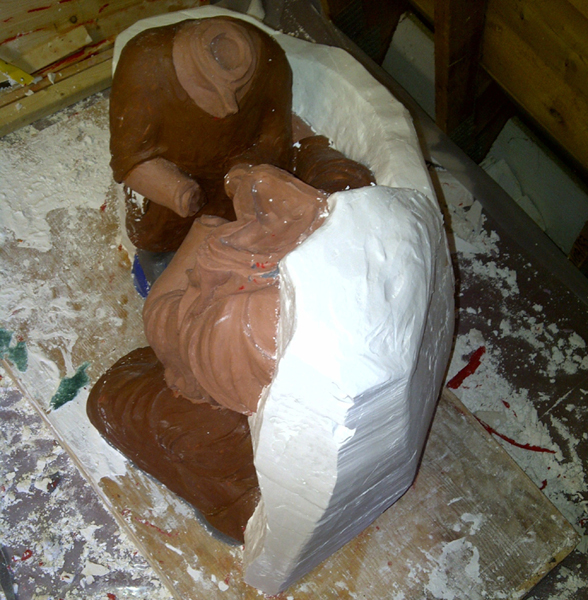
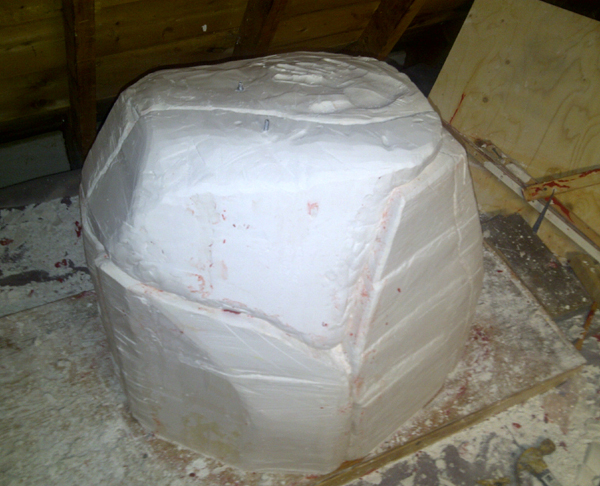
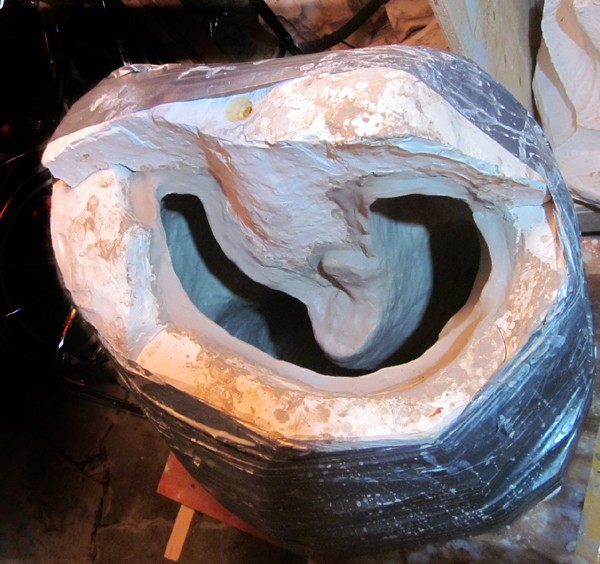
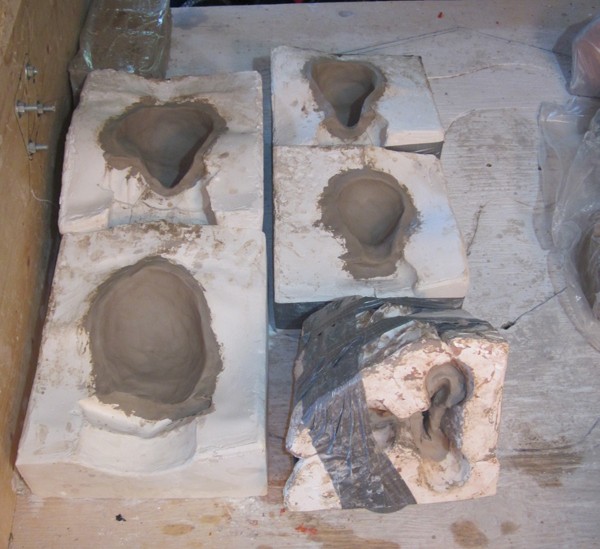
In the end, Pieta Amere required 18 separate pieces to complete the mold. At best, you can expect to pour one section per day, so in reality, you should plan to invest a full month to the making of your plaster mold. Each piece is heavy with water, and so with the dehumidifier running, and gentle heat I have to patiently wait for the mold to dry.
Ready for Clay
There are very solid reasons why many avoid the mold and clay making process. Its expensive and risky. Several months have been invested just to get to this moment where actual clay can be formed into a new statue. Just think of the risk of wasting all this time and money toward a goal that hasn’t proved its value. And worse yet, the original maquette has been destroyed while making the plaster impression. The payoff is in the hope that subsequent clay castings will provide the means to sell several ‘originals’. If your successful, these multiple statues will help overcome the original costs, and ideally create a modest profit. So goes the theory.
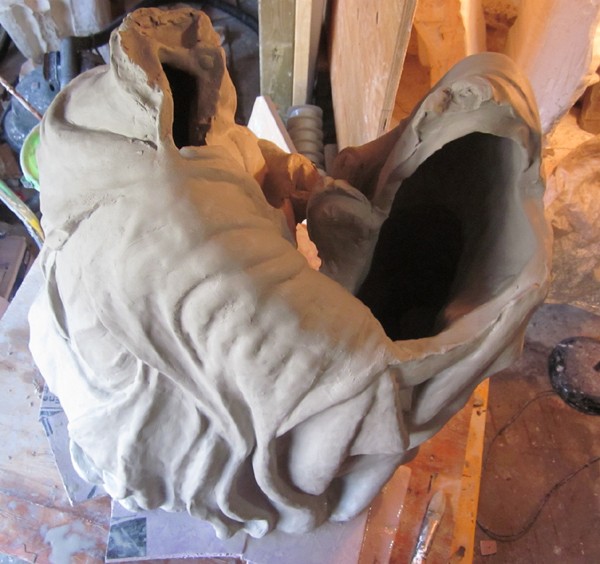
My 18 piece mold can support either a slip casting or a pressed clay process. However, as my Pieta Amare design is very tall, over 26 inches, there is a real possibility that the liquid slip clay may collapse from its own weight before it has the time to harden and set. Weight will not be an issue with pressed paper clay. The thickness of the clay can also be adjusted with the lower third of the statue being pressed to a one inch thickness wile the upper sections being limited to half inch or less.
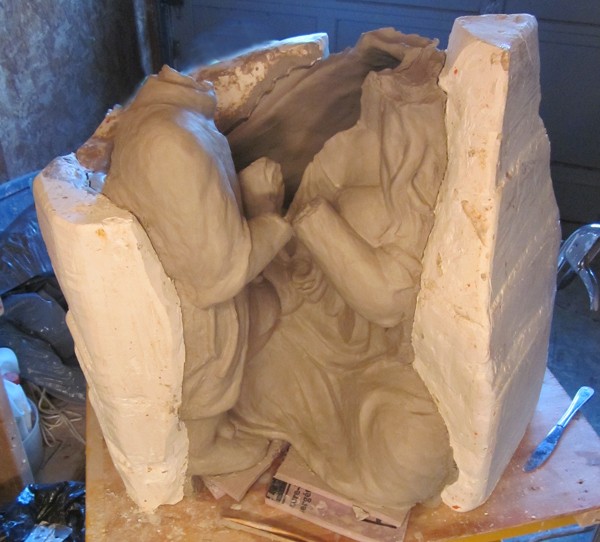
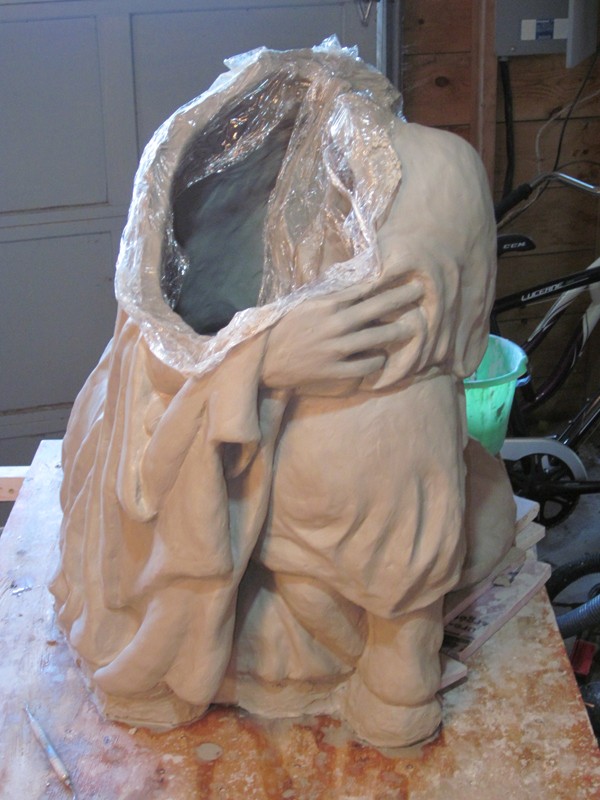
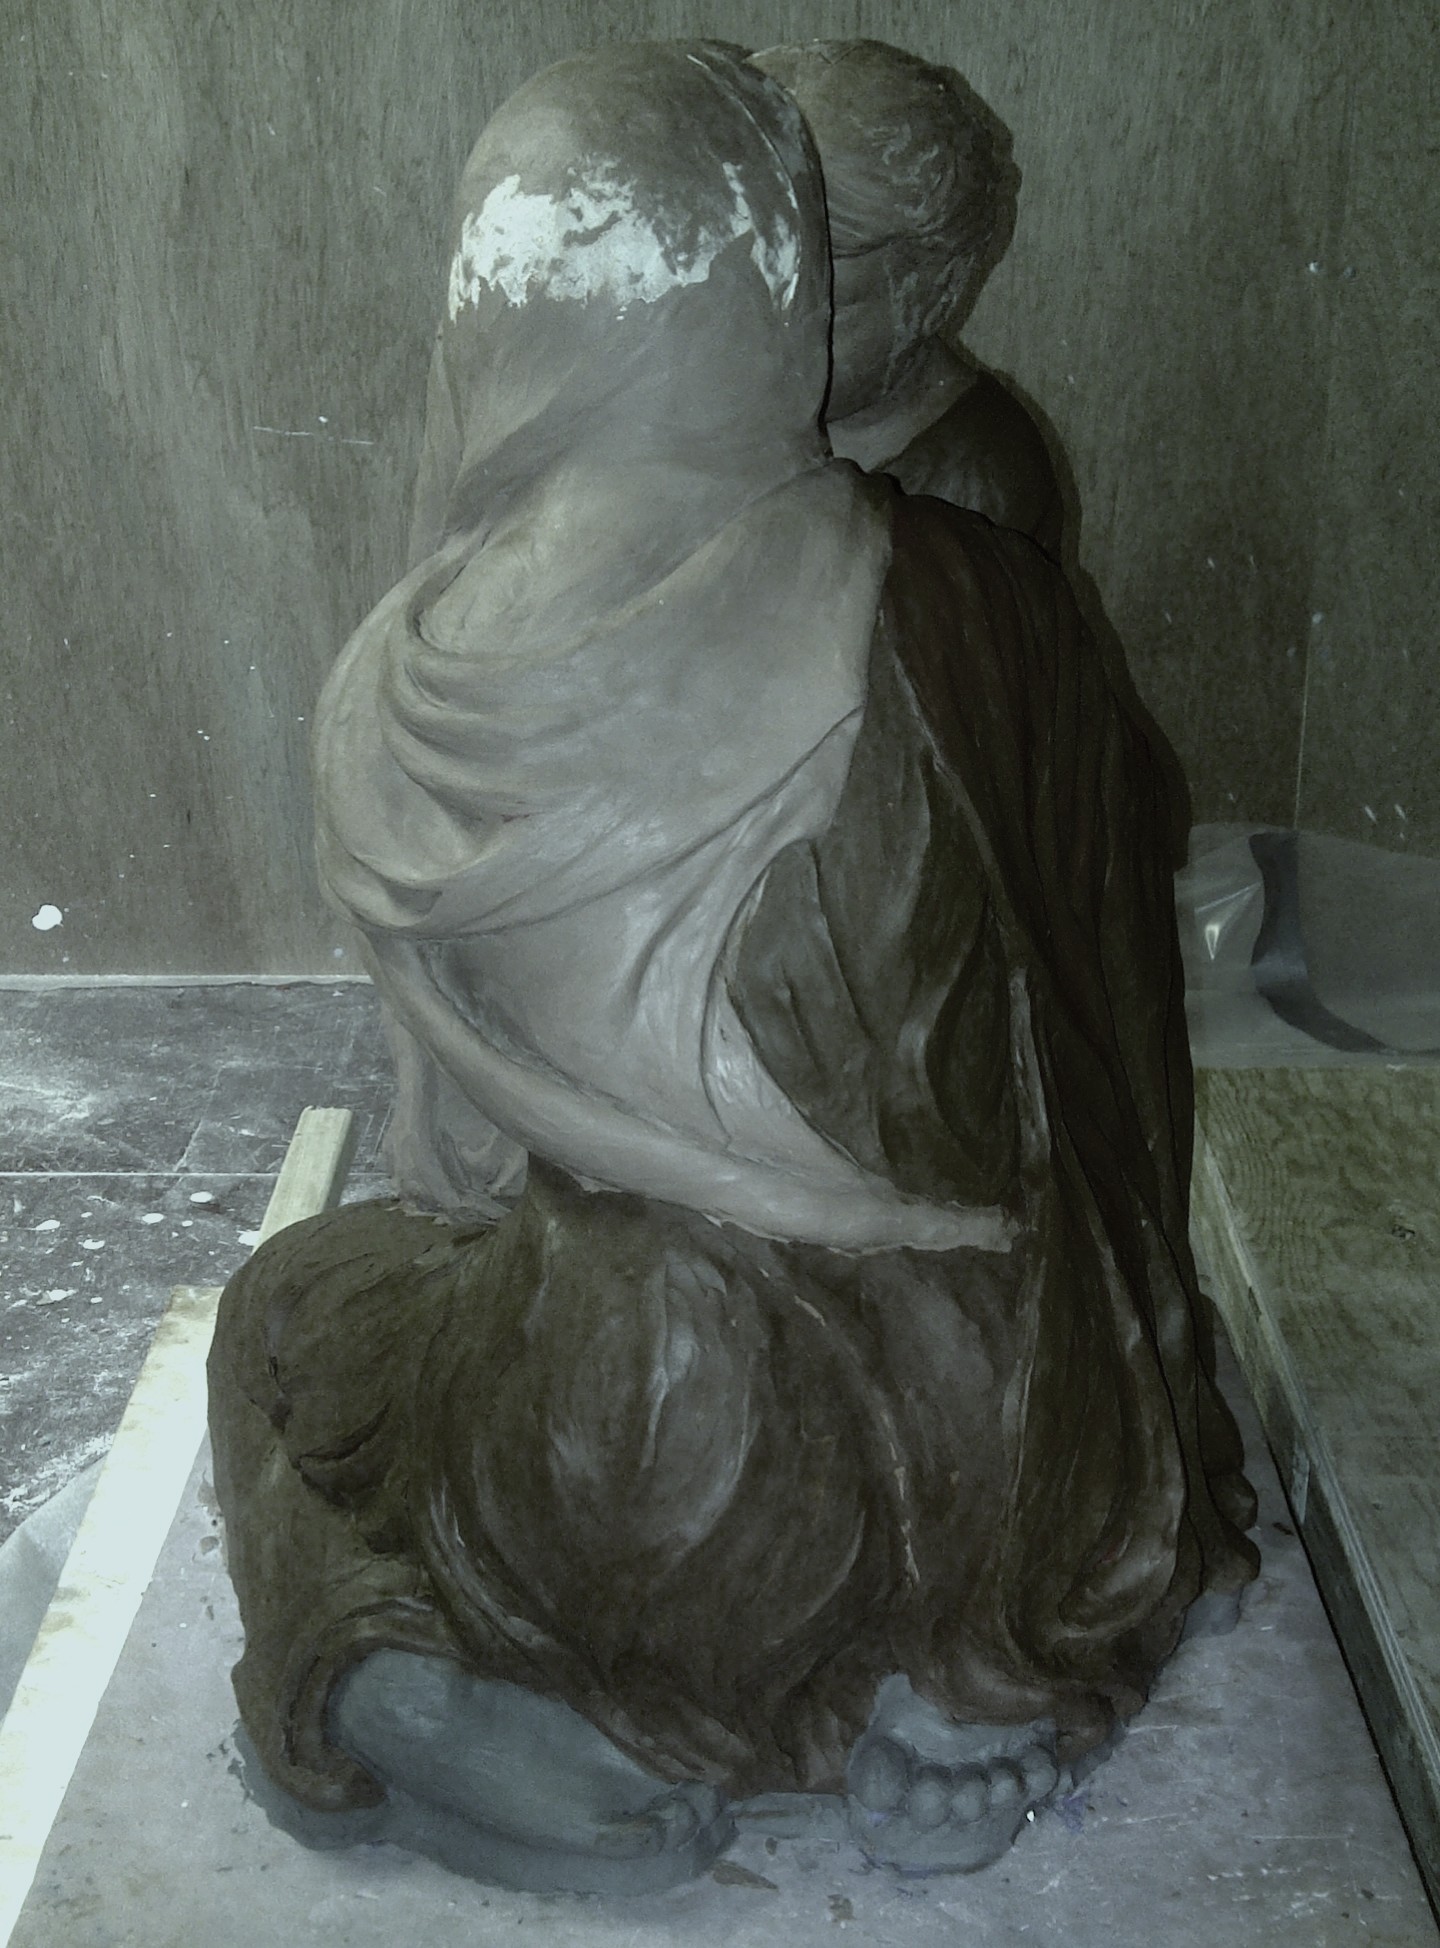
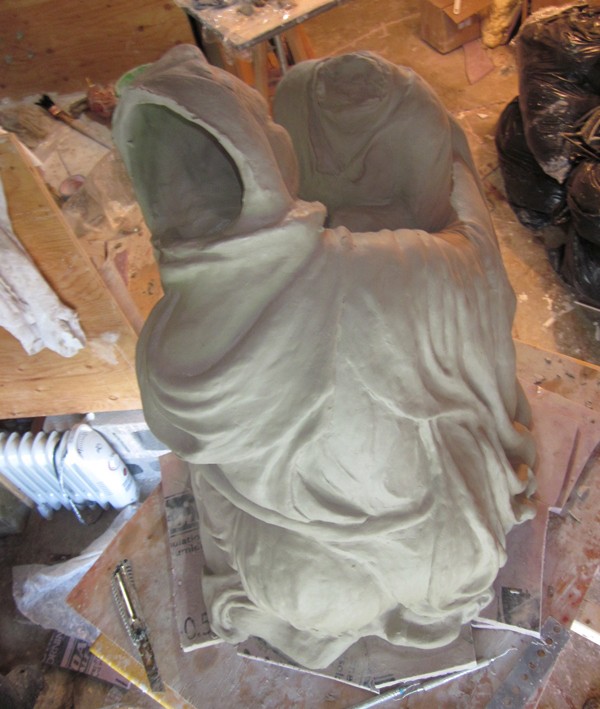
As I had mentioned in an earlier post, Pieta Amare will be assembled in sections. With the body being worked on first. Once the clay has been pressed, simply remove one piece at a time. You will notice that each exposed section needs to be cleaned and repaired before moving on the adjacent piece. This will take some time, so as you take a break, cover the exposed unfinished areas with plastic to keep the clay moist.
Individual parts are pressed separately and connected to the main body with liquid slip and moist scraps of clay. While you assemble, you will also notice that border areas may not line up perfectly or that connective seams tend to pop out or show there lines… That normal, just remember that clay is a very forgiving medium and that all can be smoothed out and remodelled as you go.
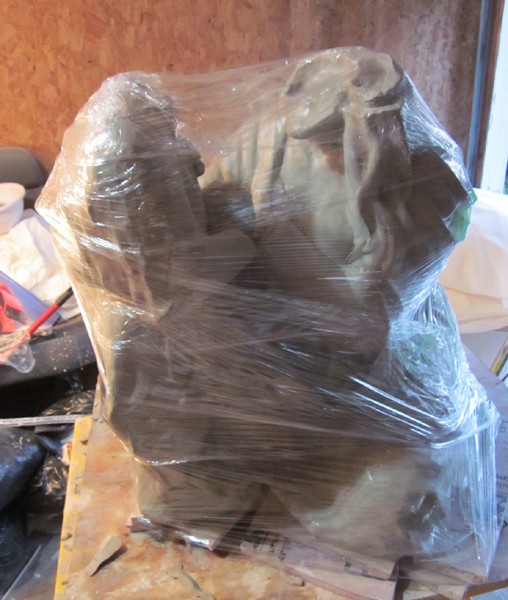
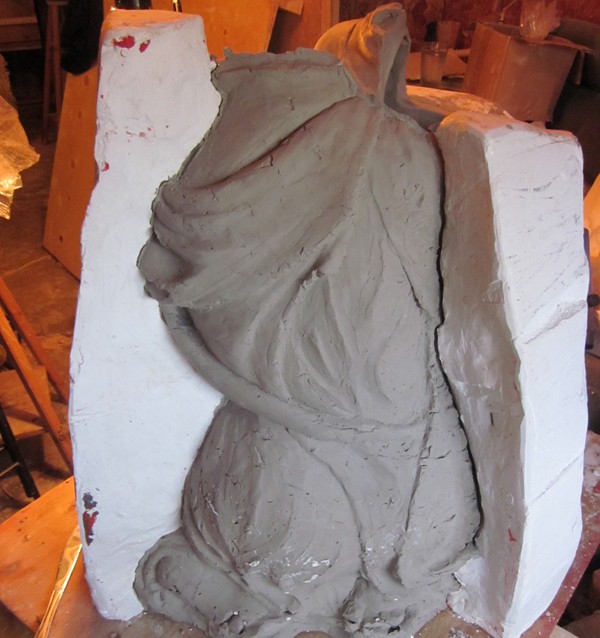
A statue of this size could take days to complete. So make sure you have lots of cellophane handy. Before stopping for the evening, spray the whole statue down with water, then wrap to help ensure the project doesn’t dry overnight. This is critically important. Clay shrinks as it dries.. As much as 12 percent depending on the clay type. If the body is allowed to dry overnight, exposed to the air, the next day it will be just that much smaller… and the newer sections, freshly attached the next day will be just that much larger… the end result will be mismatched seams and cracks between the sections. Once these form and the statue dries, they can prove very challenging to close. In fact, a deep crack may never heal completely…. Even if you manage to seal the line with fresh clay, you will always be struggling with moisture differences. And these cracks will tend to open up again once the art has been fired in the kiln.
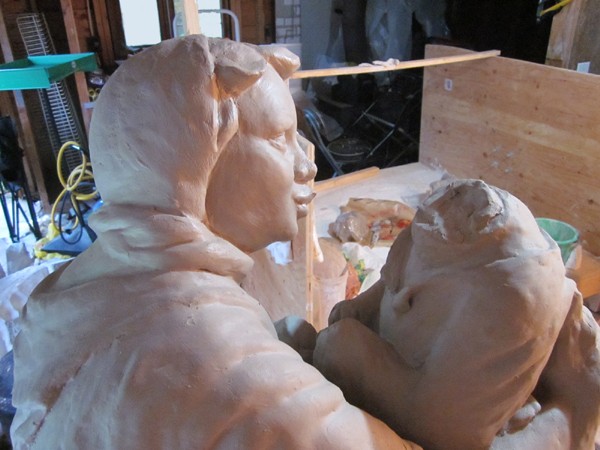
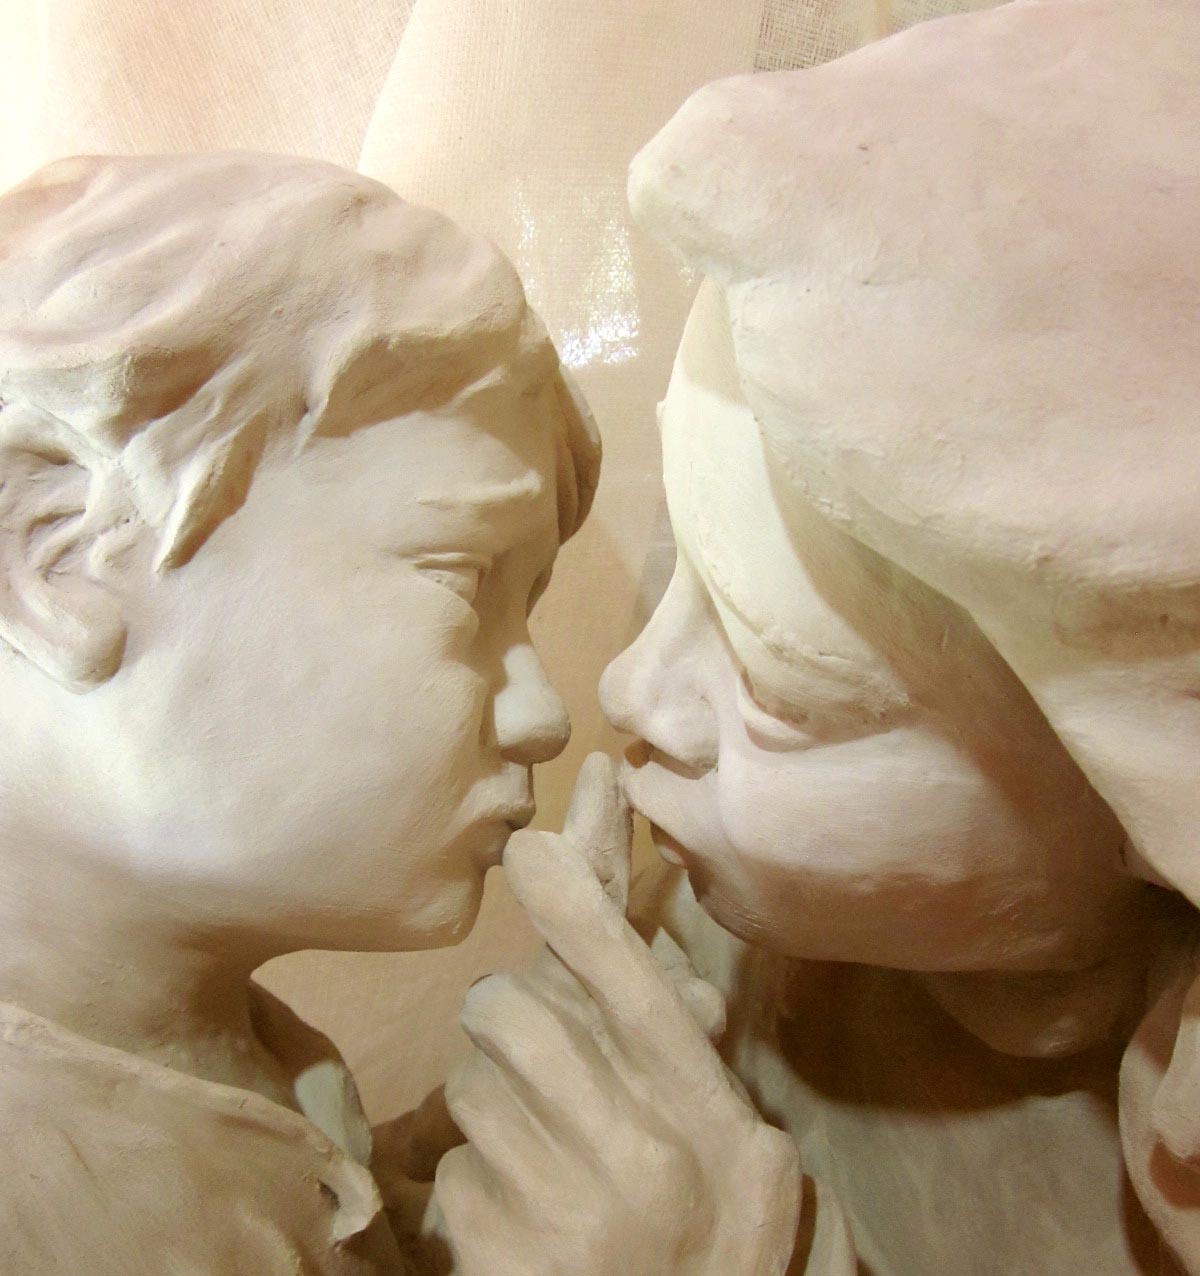
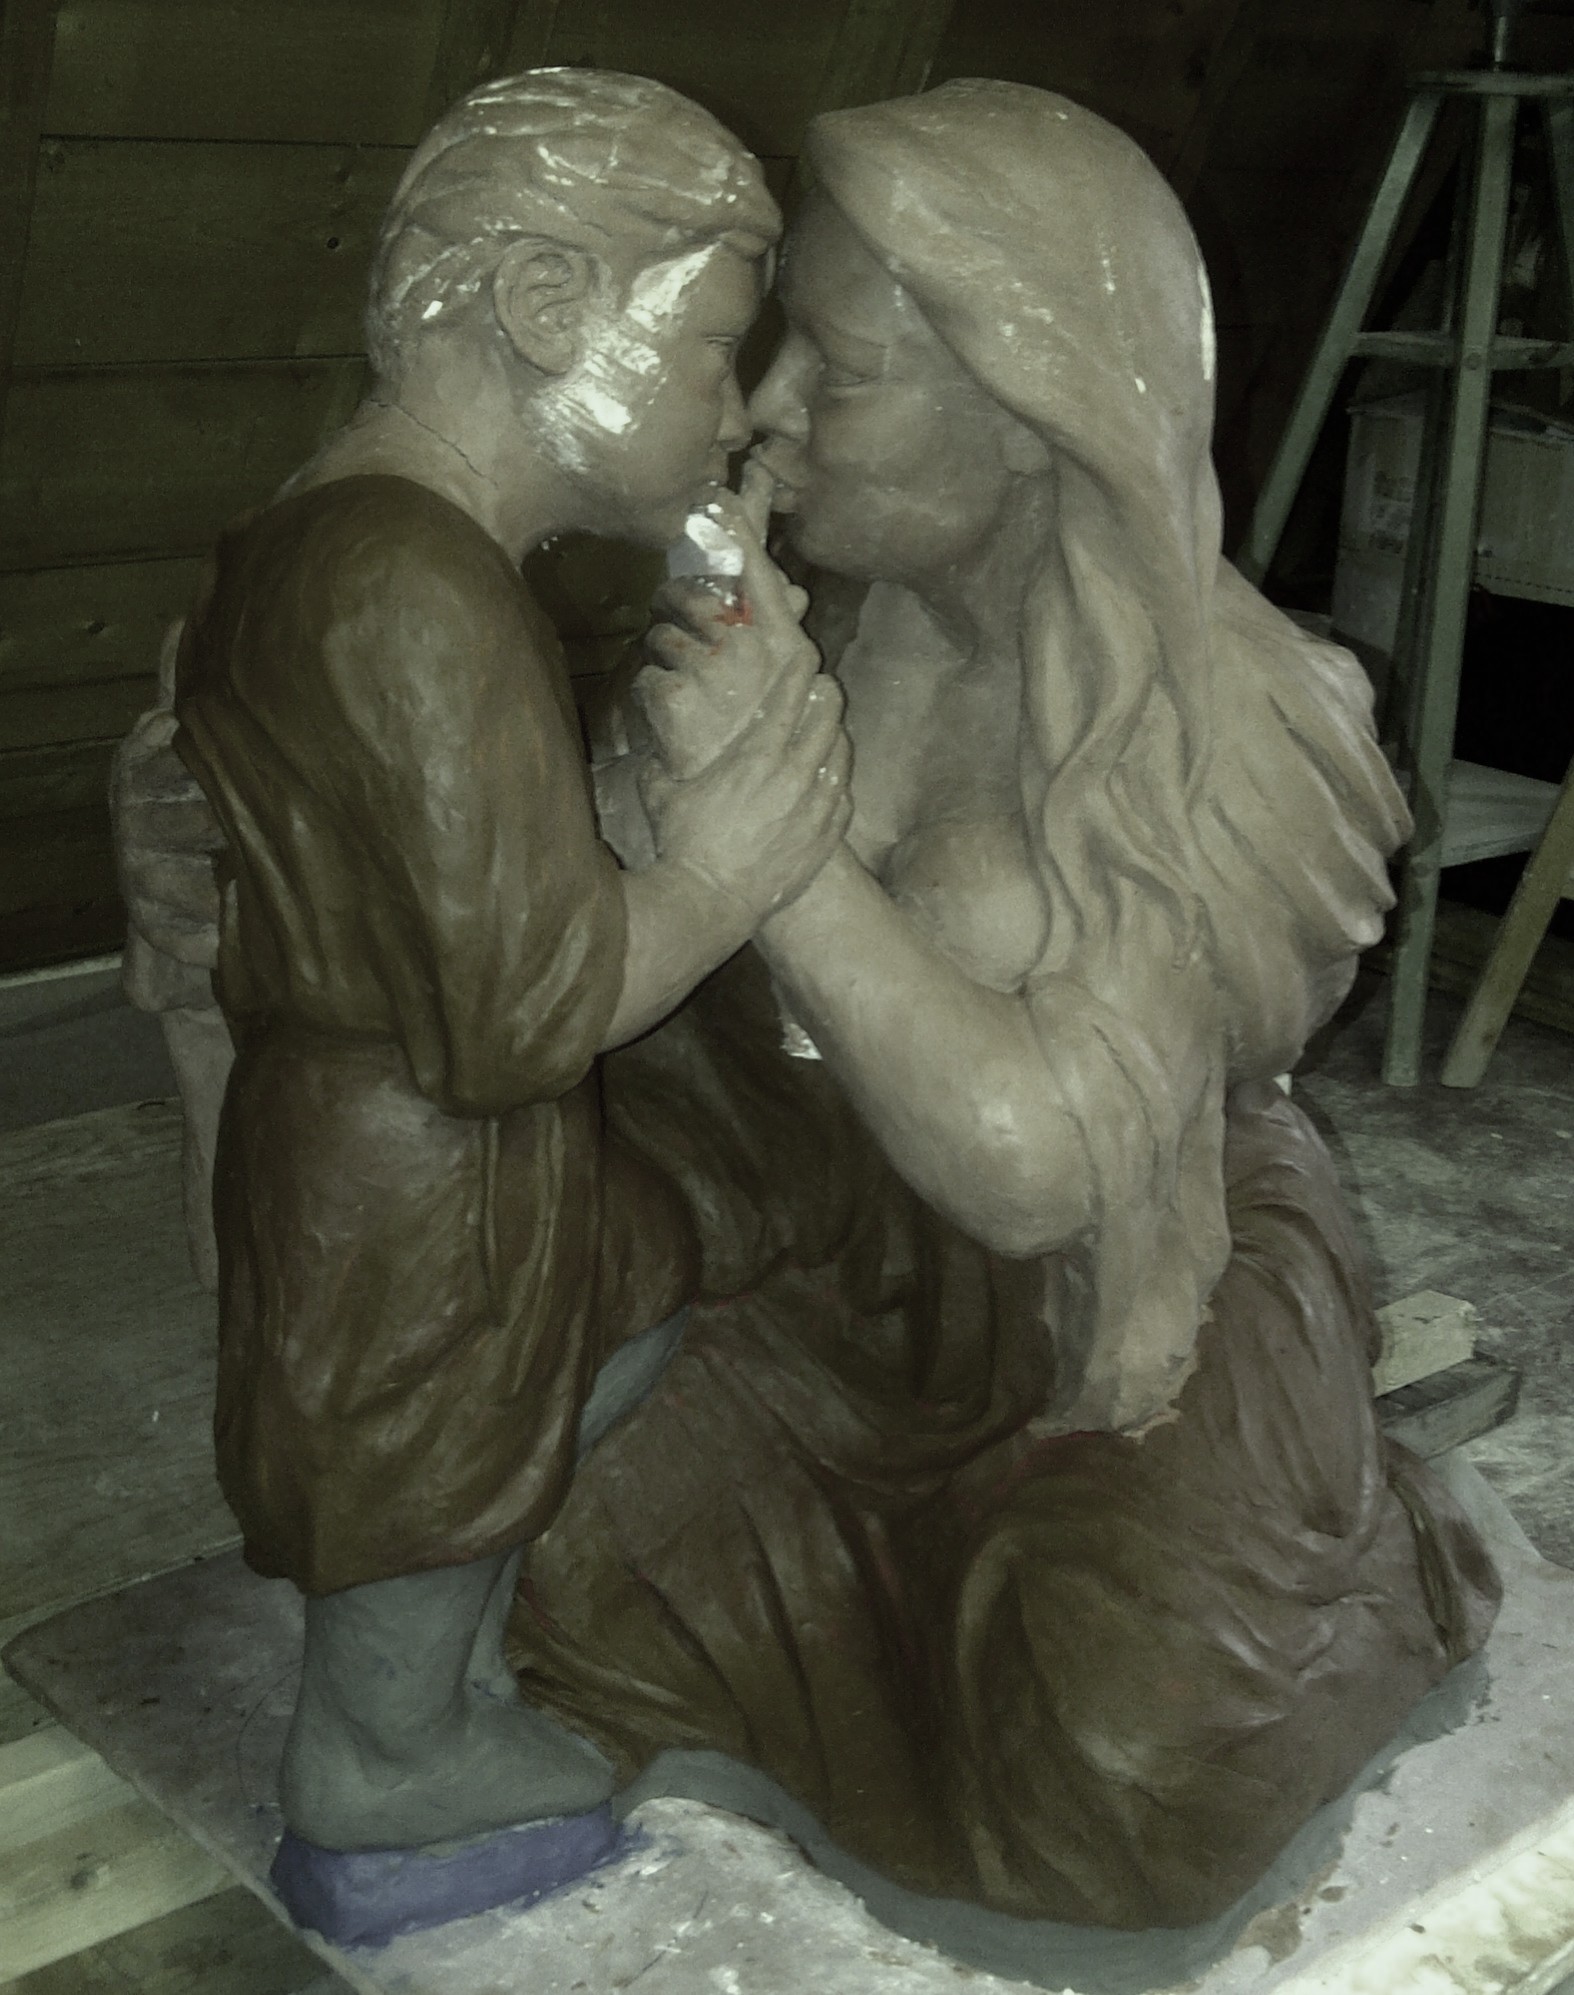
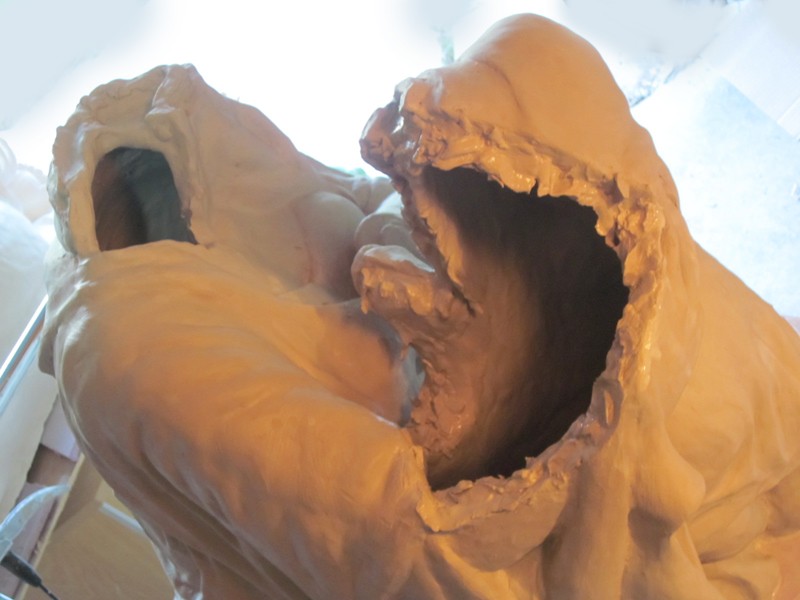
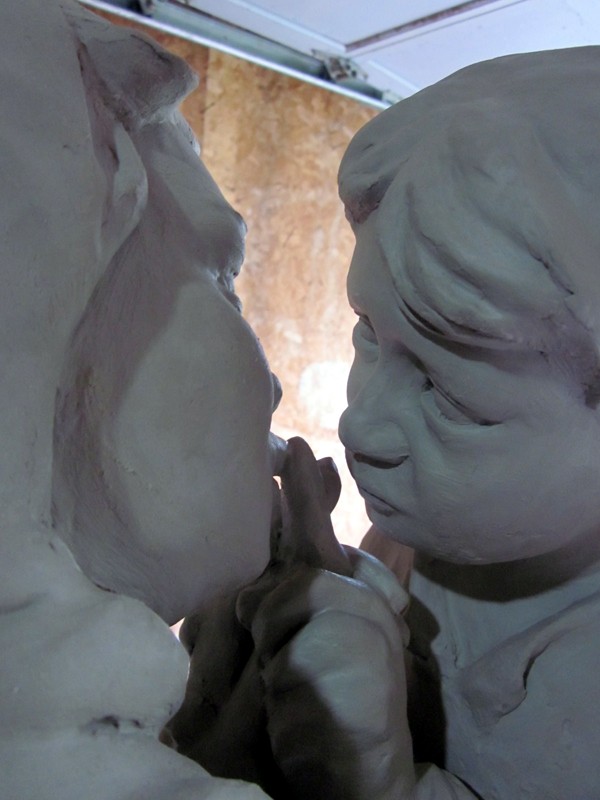
Its also important to work on areas while they are accessible… Both Mary’s face and hands will soon be hard to reach. Before Jesus is finished, I will need to ensure that Mary’s lips are well positioned. A little buffer between them will keep each one in their place as the whole assembly dries.
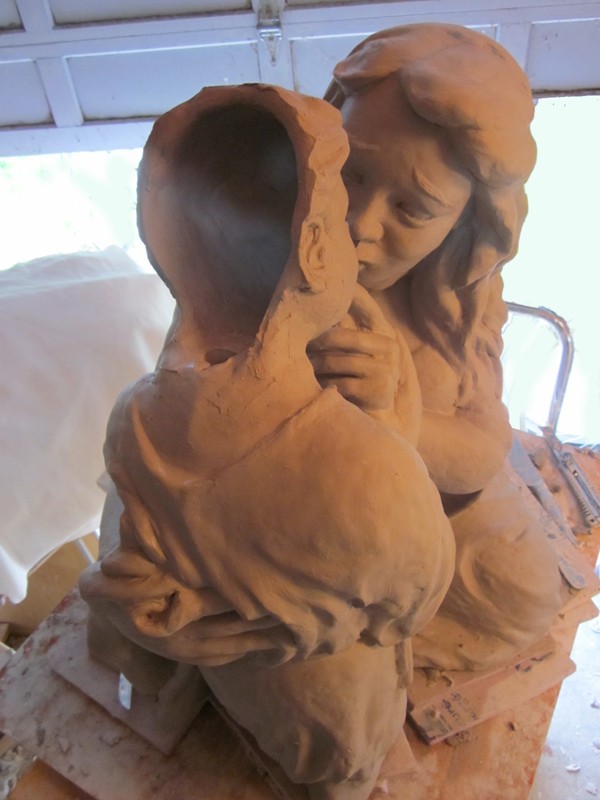
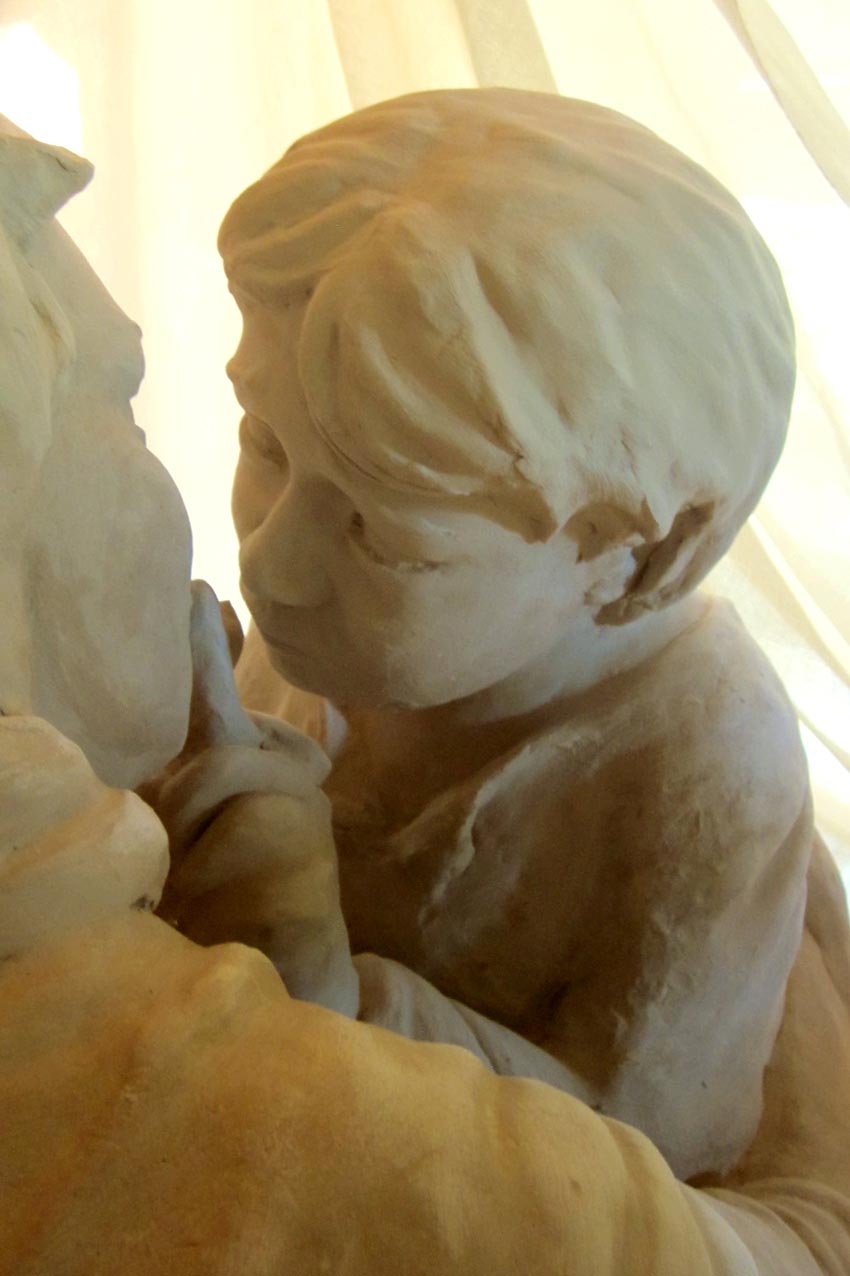
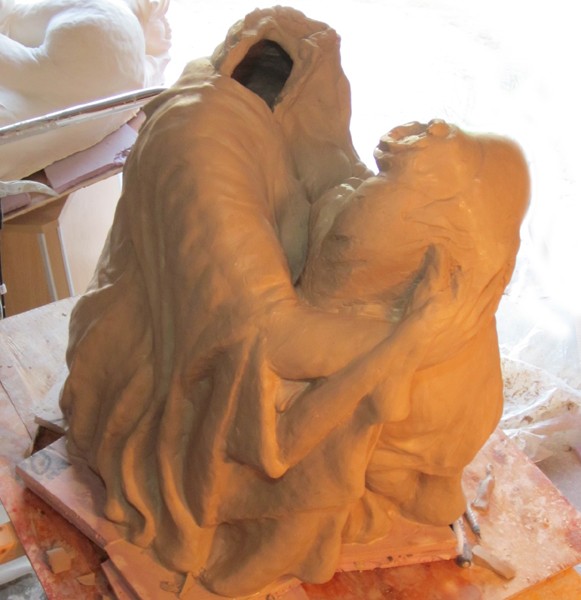
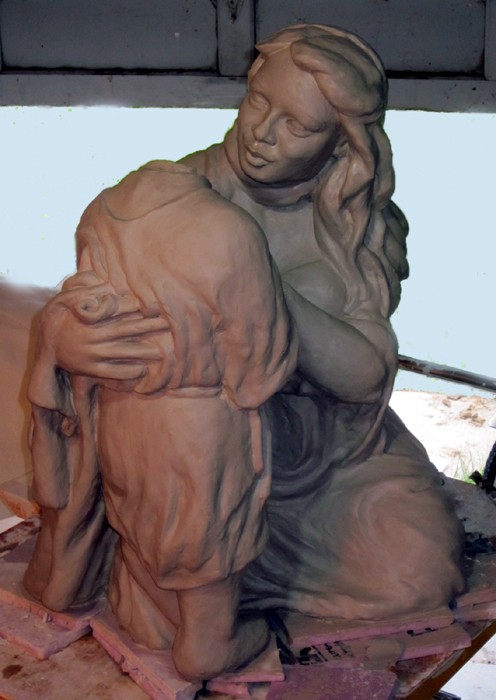
Pieta Amare is now 90 percent finished. The remaining details and finishing touches will be completed after the kiln fire. This is my own somewhat unusual method. If you prefer, you could continue to perfect the statue while it is still unfired leather clay. Of course the statue is very heavy and very fragile and with one mistake you will create a fresh crack (that may never repair) or worse, you’ll create a crumbled mess on the floor. I prefer to play it safe and Low Fire to Bisque. This fired intermediate stage is much stronger and still very easy to carve and sand.
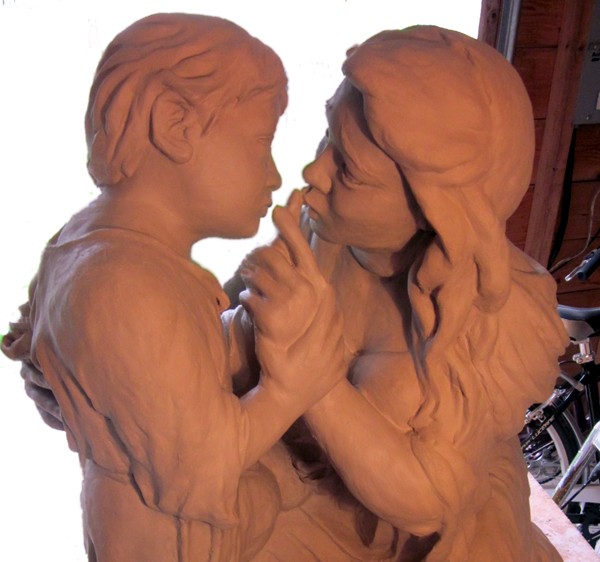
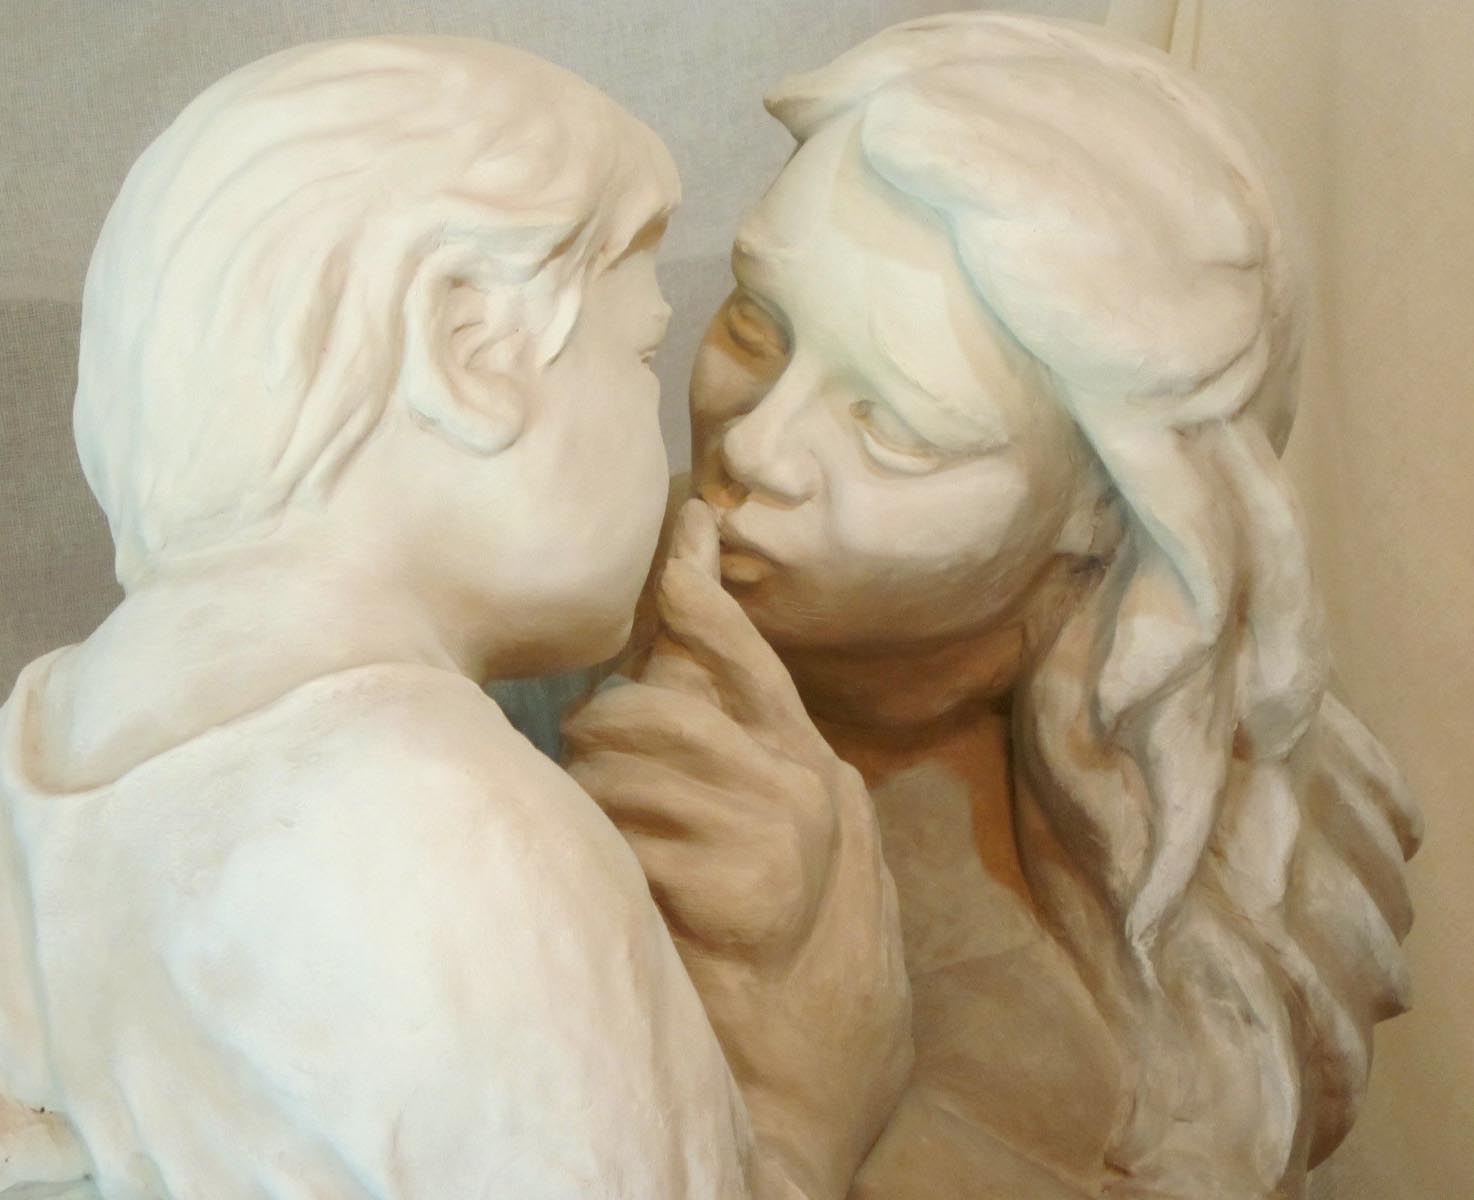
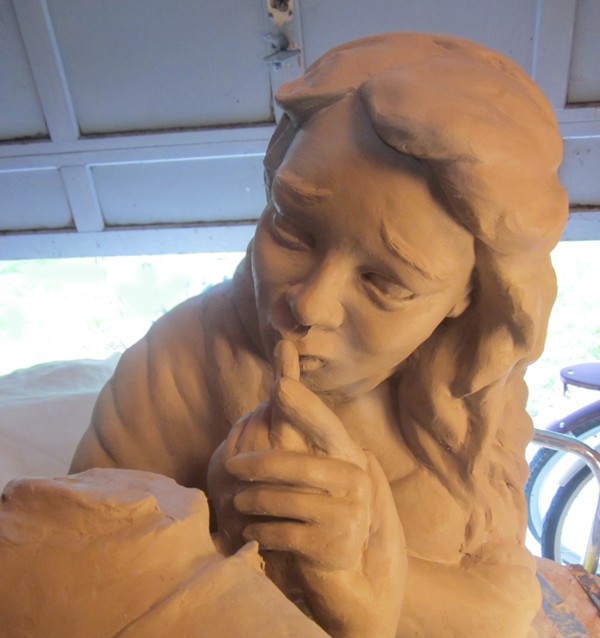
According to accepted legal convention, the first twelve impressions can be considered ‘Original Editions’ and as such they should not be numbered. There is a very good reason for this. As you can see from these series of photos, though Pieta Amare was cast from an original maquette, each subsequent art piece will be unique. It is in the assembly, cleaning and finishing process that artistic nuances are imparted. Expressions, emotions, flowing clothes, gestures of the hands, gentle embrace, a tender kiss. This is all revealed from your hands to the wet clay. Life’s free movement is transferred from you to this earthly mud. Though there may be twelve similar final works, they will each be unique in how they are finished and refined. And in support of this convention, I letter my first 12 using the classical Greek alphabet; α (alpha) through to μ (mu). After this I would suggest breaking the plaster mold.
