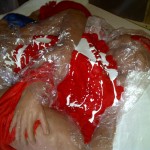
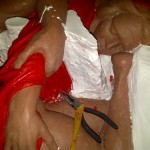
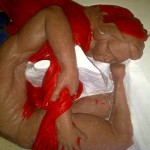
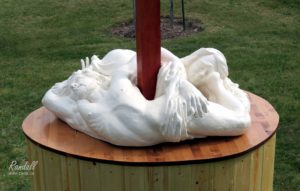
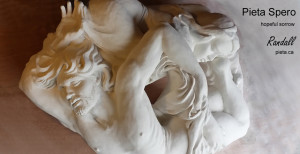
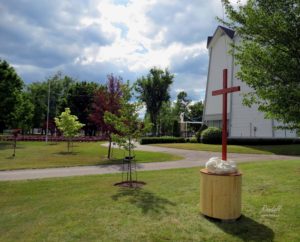
 Michelangelo’s Pieta inspires compassion, and is why artist of his time named the Christ Mary motif as Pity or Pieta in Italian. My view, with a more modern perspective, examines this experience as a uplifting Hope. For me, there is a conflicting force of Hope vs Fear that motivates all of us… Pieta Spero (hope) is a new expression of Mother Mary and Jesus as this relates to us; who have fallen asleep in the hope of the resurrection.
This Hope against Fear expression existed within my mind; But, as with all my projects, the struggle I face is bringing this to life. As always I start with the simplest of sketches.
The initial sketches should be done as quick as possible… Focus on the idea in your mind and then just move the pencil…. Remember these are rough sketches, never intended to see the light of day… they are fast and disposable. The point is to capture the emotion so there is no need to ‘colour within the lines’… Go through as many sheets of paper as needed, or pick up some modelling clay or children’s plasticine and just start to pinch and pull until the shape comes to resemble what is in your minds eye. You may laugh at yourself, it may be ugly, but it is the general shape that you are after… feel free to throw the sketch away later…
The quick sketches are important, as the following step is very time consuming. The actual maquette can take weeks to complete… and you do not want to waste a month or more of your time… by following the general proportions of your rough models, you will ensure that you don’t spend countless hours refining your maquette only to find that the torso or limbs extend beyond the marble’s dimensions…
Feel free to move between and around the different focal points (Jesus and Mary) The statue should grow as a whole; this allows you to make adjustment as needed to ensure that bodies fit within each other. The goal is to have one homogeneous expression, not two separate statues forced into each other.
Save the details for the last; faces and hands. And remember that this is only a maquette, not the final sculpture, so 90 percent is good enough. Believe it or not, the difference between 90 and 100 percent is double the time.
Perfection is important, but not at this stage…. What you are trying to capture is the emotion, the story you want to express… for now, details are less important.
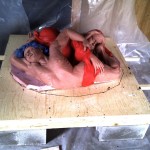
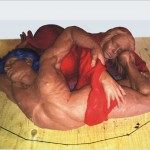
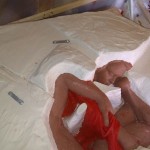
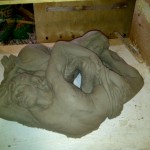
This polymer statue is only halfway complete.
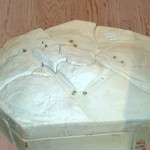
Plaster mold making is still a very time intensive proposition. Tremendous care and attention must be applied to how each piece will fit together and release apart.
The final puzzle must lock into place and be able to support its own weight and the weight of the clay pushed or poured inside.
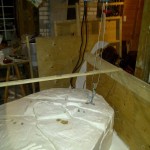
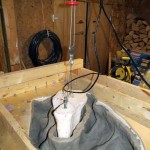
In the case of my Pieta, the combined material weight could exceed 1000 lbs. The work platform will need to be sturdy and of sufficient area to build wooded forms and contain any plaster spills. Once my Maquette is centered on the decking, a close examination will be needed to plan each piece of this mold…
The mold will need to pull directly off of the statue, and so there can not be any undercuts. If the plaster cast is tucked behind a fold or curve of the Maquette, this portion will be shaved off as the piece is pulled away. Or worse, the piece will be locked in and unable to be released.
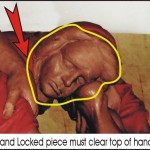
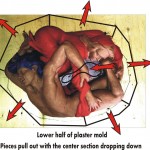
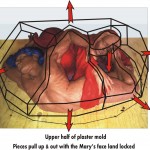
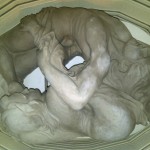
Mary’s face, for instance, is resting on Jesus’ foot and is tucked behind her arm and his hand. In order for the plaster mold to be able to be pulled off and away from her face, there will need to be room for the piece to move out several inches. In effect, I will need to have additional plaster sections of this puzzle to drop down or slide away to allow space for the face segment to move off.
As you will see in upcoming chapters, the final mold will be inverted and then stuffed with clay. Half a ton will need to spin and role without moving or sliding, and so I will need to plan the location of bolts (see tools of the trade) that will be locked within the plaster and will attach to an electric pulley; all needed to help hold and lift the pieces.
This planning stage is straightforward, but critical. Plan in advance the location of the pieces, and ensure you have all the tools and supplies needed. Once you start adding water to plaster, it will be too late.
Plaster is one of the oldest man made building materials, after fired Clay. Dating back almost 10,000 years, it was first used in Jordan and then expanded throughout all ancient cultures; from Egypt to China.
Michelangelo was very familiar with this medium, used to create his brilliant fresco the Last Judgment, and the ceiling in the Sistine Chapel.
As an artist, I can’t help but feel awe inspired as I continue to use this material following in the footsteps of a thousand generations.
Before getting started pouring the mold for the maquette, make sure you gather all supplies in advance and have them ready at hand. (see Tools of the Trade)
You will naturally pour one section at a time. Each piece will have a defined border that you will mark with an indelible pen or scribe with a knife.
Look down a straight edge to see if there are any “undercut areas” this can now be filled in with plasticine. Remember that if your plaster form wraps behind your Maquette, then later, as you separate the mold, the clay behind this undercut will be gouged or clawed away. Do your best, but remember that clay is forgiving and you can repair mistakes later on in the process. As this will be a very heavy piece, I have planned for bolts to be cast within the plaster. This way, later I will be able to attach a winch to help lift the weight.
Your wood forms, having been pre-cut, will be fastened to the workspace deck using shelf brackets and “Robertson” screws.
Warm your plasticine in a used electric skillet and then run this paste into the edges between forms and the deck of your work area.
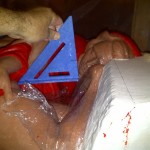
To avoid a mess, spills and sticking, protect the adjacent area with plastic wrap. Soft plasticine will be used to follow the contours of your statue and provide a watertight seal against the wood form. (just make sure that the plasticine and your Maquette are separated by the plastic wrap or they will stick together)
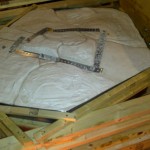
Coat all exposed previous sections of plaster with brushed on Vaseline. This will ensure that pieces will separate once finished. (without Vaseline, this 12 piece mold would end up as one solid block of plaster.) Plaster will not stick to modeling clay, or plasticine, but bonds permanently to itself.
As you become familiar with the weight of liquid plaster, you will adjust the thickness and strength of your forms… When I started I had several “Blow Outs” and there is nothing worse than a gallon of plaster slipping out over your statue and onto the floor. So always construct your form as strong as possible.
Now you’re ready to mix and pour. (remember.. you must use a mask and eye protection)
If you click on this link, you should be able to download a PDF with all the mixing details. But, don’t bother, art is all about hands and eyeballs.
From my experience, the best mixture is 73 parts water, to 100 parts ‘No 1’ Plaster…
So, to make life easy, mark two equal sized buckets – Fill the first with 5 measured litres of water (mark the shadow line “5 Plaster”) – and then Fill the second bucket with 3.65 litres of water (mark the shadow line “3.65 Water”)
A third larger 10 litre bucket will be used to mix. Sift the plaster into the water letting the water naturally absorb the powder. When done correctly, you should see an island slowly submerge into the milky water. Once all the plaster has been added and is under water, wait a minute, and then mix with your hand feeling for any lumps. Within approximately 5 minutes of gently stirring, the water will resemble milky coffee cream and will be ready to pour.
Remember to only mix as much as you can pour in 5 minutes or less. So it is important to have an idea of how much plaster is needed.
Calculating your volume is easy… length x height x width… great, if your sculpture is a cube, but not for the Pieta… so I normally have two or three pre-measured unmixed loads ready to quickly combine and add.
The plaster will cure in a hour or less, depending on water and air temperature. However, it will become impossible to work with quickly, in a matter of minutes… If you need more time, then use cold water. But 20 degrees celcius will yield the best results.
As plaster cures, it will heat, once the temperature has cooled, it will be ready to have the forms removed and cleaned. This is the best time to smooth out the surface, easily done with wooden carving tools. Once the irregular surface has been worked, then let the section dry overnight before repeating the process on the next piece.
Once done, (several weeks later), you will have a large multi-piece plaster block. This will need to dry in a well ventilated room for at least two more weeks or until dry to the touch. If the block feels cooler than the ambient air, it is still wet. If you prematurely try to open the mold while it is still damp, it may crack or crumble.
My Pieta required over a month to dry
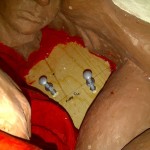
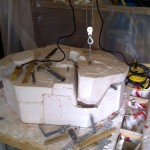
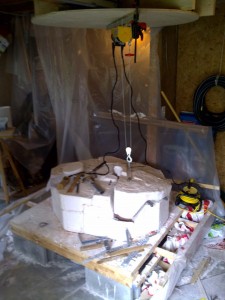 Once your mold feels dry (but still cool) to the touch, it is ready to open. This is the most sensitive time in the casting process. The plaster though strong, is also very brittle and can break away around the nooks and crannies. To make matters worse, because none of us are perfect, there are probably more than one pinch point that will lock the pieces to your original. Then there is the weight of the individual units. In my Pieta, the larger sections are over 50 lbs… try to maneuver that hefty weight while stooped over, balancing on your knees. You can see from my studio that I have an overhead winch. This is attached to the bolts that I had poured in with my plaster and takes the strain out of lifting.
Ensure you do not simply winch up and haul away, the plaster will break. Instead apply gradual lifting support while shimming around the separation lines. The section will then move up and over in the direction required. If you break off a chunk, don’t worry, plaster can be repaired later.
Once all pieces have been separated, allow the individual sections to continue to dry. When completely dry the plaster will produce a powder when scrapped. Try the ‘Tongue Test‘… if you touch your tongue to it, it will stick a bit. (fun at parties) This is as dry as your environment can make it. The mold is now ready. Using a combination of finesse and strength use your winch to reassemble on the platform. Using silicon caulking, fill and seal the cracks between pieces and in my case, lock together using metal back straps and duck tape. This will make the complete piece reasonably water tight.
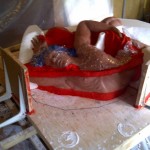
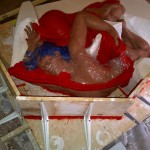
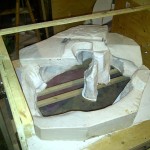
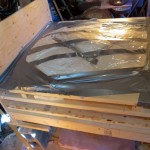
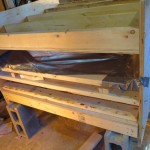
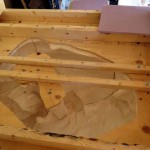
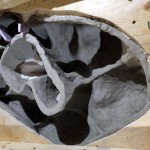
Now, a word or two on Tipping Boxes.(see tools of the trade) Typically, a plaster mold is built from the ground up. There is a top and a bottom. When done, it will be the vessel that holds the liquid slip or pliable wet clay. Like a cup or bowl, the opening needs to be at the top. So, we assemble the pieces, then spin the whole unit upside down exposing the opening at the top. Clay is then pressed into the mold, (as my Pieta example) or poured in like a slurry chocolate cream. Once the clay has been pressed, or the slip has set to a ¼ or ½ thickness, the complete project will need to be flipped right side up again (draining the slip back into a bucket) and allowing us to release the mold.
This is easier than you may think.. Just needs a lot of planning and preparation.
Remember that the combination of plaster and clay will be heavy. In my case, over 1000 lbs. Even a small quarter life sized statue will be far to heavy for you to lift. So plan as if you are building a deck that is sturdy enough to hold you, your family, and the BBQ. You will need lots of lumber, plywood, and heavy hubs with metal bearings.
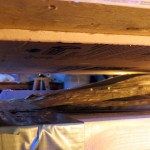
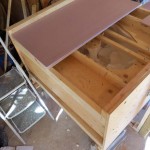
You will want to secure your mold in the centre or apex so that when the projects spins, there is very little perceived weight. The tipping box is built around the plaster piece. Wood beams are screwed not nailed and foam is shimmed and blown into open spaces to ensure there is no movement. As you can appreciate every art piece will be different and so the accompanying tipping board will be unique to each project. If you’re careful during construction and teardown, you will be able to reuse the whole table a dozen times or more.
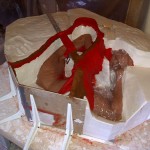
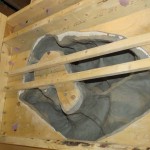
As my Pieta design provided a large opening, that was easily accessible, I did not need to pour slip, but rather press clay. This is easier, lighter and stronger.
Half a day later, while lounging comfortably atop the box, on a bed of pink insulation, I pressed and poked my way inside and around the mold. Actually, I thought I was going to die. I cramped up, rigor mortis had set in. Clay shrinks quickly while it dries… so I chose to finish in one go.
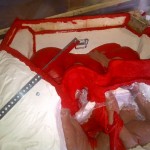
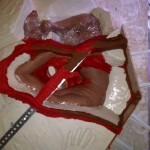
The winch again is an indispensable tool seen in the photo removing the key locking piece of my project.
The tipping box is once again spun right side up and all pieces are removed in the same manner as before. Slow but sure. Clay is very forgiving so don’t worry if there are small tears or breaks. This can me filled and smoothed over the next day or so. Just ensure the clay remains uniformly damp while you add pieces and finish repairs. Once bone dry, you can sand or brush smooth. My Pieta is now ready to be fired in the kiln.
Up to this point, months have been invested working on the design and emotion of the smaller Maquette. And so in order to preserve the value of all the work, a plaster casting has been made and then a clay copy has been pressed or poured. More months of effort.
A statue of this size (two thirds life) needs weeks to dry before it can be fired. If there is any residual moisture left in the statue, it will surely crack as the water is vaporized and steam pressure snaps the clay apart.
In fact, there is no practical way to fully dry your clay piece outside of the kiln. The “green ware” will always retain the ambient moisture that is all around us suspended in the air. There is no escaping the relative humidity in the air you breath.
With this in mind, when programming your electric kiln, ensure you hold the temperature below the boiling point (several degrees below for safety) until all the remaining moisture has evaporated… technically know as “candling”
My project contains over a hundred pounds of dry clay… and so I’ve decided to candle for 24 hours… better safe then sorry.
Also, the Pieta varies in its thickness.. Averaging half an inch… with this in mind, I have chosen to low fire the clay… only to a ‘bisque’ level. This is to prevent further splits and cracks.
Clay shrinks as it dries… the amount is dependent on the clay body, but up 10 percent is possible. As the clay shrinks, cracks may appear (as they did in my Pieta) This is easily repaired before firing…. Simply press more clay into the crack, let dry and continue to add and again let dry more clay until the crack finally stays sealed.
Fired clay continues to shrink as the temperature increases during the firing process… again, depending on the clay body, this could be an additional 10%.
If your statue cracked while it air dried… it will certainly crack during high fire.
So if you have any suspicions… do not ‘high’ fire. The low fire bisque does not significantly shrink… and so, for your first piece… Bisque Fire Only… don’t risk it…
After firing, you will have a permanent statue to work with, and will also be able to make additional pieces to sell, and help keep the lights on in your studio.


