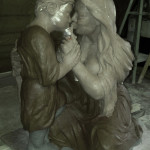
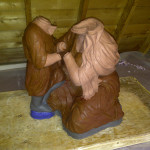
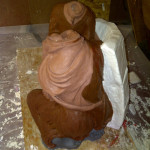
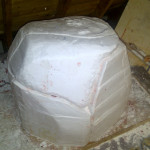
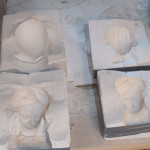
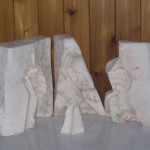
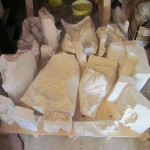
Some time ago, in my post “preparing your plaster mold”, I outlined the step by step process of planning the construction of a plaster mold. Each section must pull away smoothly without any undercuts. With my new Pieta Amare, this will prove very challenging as both Mother and Son are facing each other with their hands clasped together and sandwiched between them. For this project, I will need to work separately on the body, face and hands. Then reassemble the pair after the clay has been cast.
With a design as complicated as Amare, there is the temptation to skip the plaster completely and not worry about making multiple statues… Michalangelo would only create the Maquette from clay or wax without any thought to preserving his miniature masterpieces. However, he had wealthy patrons who could cover the costs of his work. Michalangelo was not your typical starving artist. For us mere mortals, we have to make a living and generate marketable art. It may come as a shock to some just how expensive art supplies can be. Between the hundred plus pounds of modeling clay, dozens plus bags of plaster, and boxes of natural clay, combined with studio space, building materials and electric kilns and tools, the final clay statue will have a hard cost of well over one thousand dollars. Its no wonder that many skip the making of clay statues and move directly to Marble. After all, The marble block will also be over a thousand, so why double your costs…. Quite an investment. But beyond the cash outlay, there is a more serious investment, and that is your time… so much time. Clay statues can be re-cast and so have a better chance of recouping your cost… in for a penny, in for a pound. And so the Plaster mold is the practical solution to production. For more details on this, jump to the beginning of my chapter on “pouring your plaster mold”
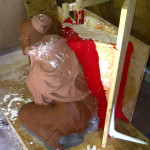
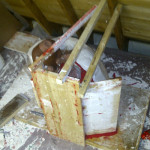
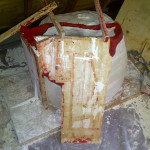
Liquid Plaster is very heavy especially when poured into a tall mold. You would be surprised how quickly the entire contents of your section will spill out under the pressure created by its own weight. All you need is a pin hole and your entire project is lying flat on the floor, a rapidly hardening pancake. When I started I had a relatively clean workspace.
But its hard not to escape at least one blow-out. Always have a cloth ready to apply pressure to the leak when it sprouts. Just like slapping a gauze on a bleeding wound, the cloth will absorb the liquid and eventually will help the hardening plaster stick and hold. However, despite your best efforts, a messy floor is inevitable.
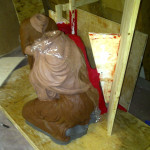
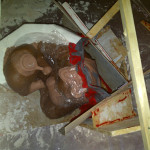
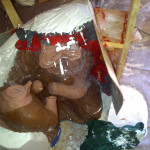
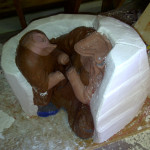
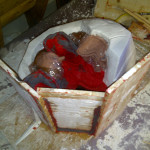
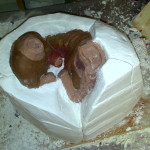
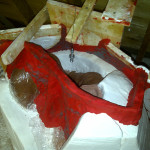
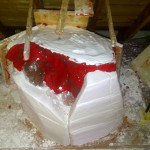
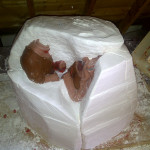
Working around the statue, each section is poured into the next with vaseline ensuring a clean separation. Plasticine is an inexpensive and very pliable medium to build up walls and seal gaps between boards. As each section has been designed to slip away from its neighbour without being locked by undercuts, each has a unique and irregular shape… plasticine really helps with modelling these sections.
Be cautious with over relying on the plasticine wall… if it gives way , it’ll give in a big way. Unlike wood planks screwed together tightly… this kids stuff has a tendency to lift up and blow out as one piece. So build your wall like it’s the Hoover Dam.
Rely as much as possible on wood framing to hold back the flood… The planks can provide a supporting structure around the plasticin adding compression and holding back the pressure.
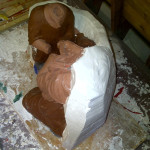
In the end, Pieta Amere required 18 separate pieces to complete the mold. At best, you can expect to pour one section per day, so in reality, you should plan to invest a full month to the making of your plaster mold. Each piece is heavy with water, and so with the dehumidifier running, and gentle heat I have to patiently wait for the mold to dry.

